
July 2025
Starting from version 25 of ArredoCAD, the system for inserting countertops in the Bathroom model has been updated so that it has become more similar to the one used for Kitchens. In the following instructions, we will have a look at some of the most common examples.
From the Element Price List, select a sink base unit and insert it (fig. 1).
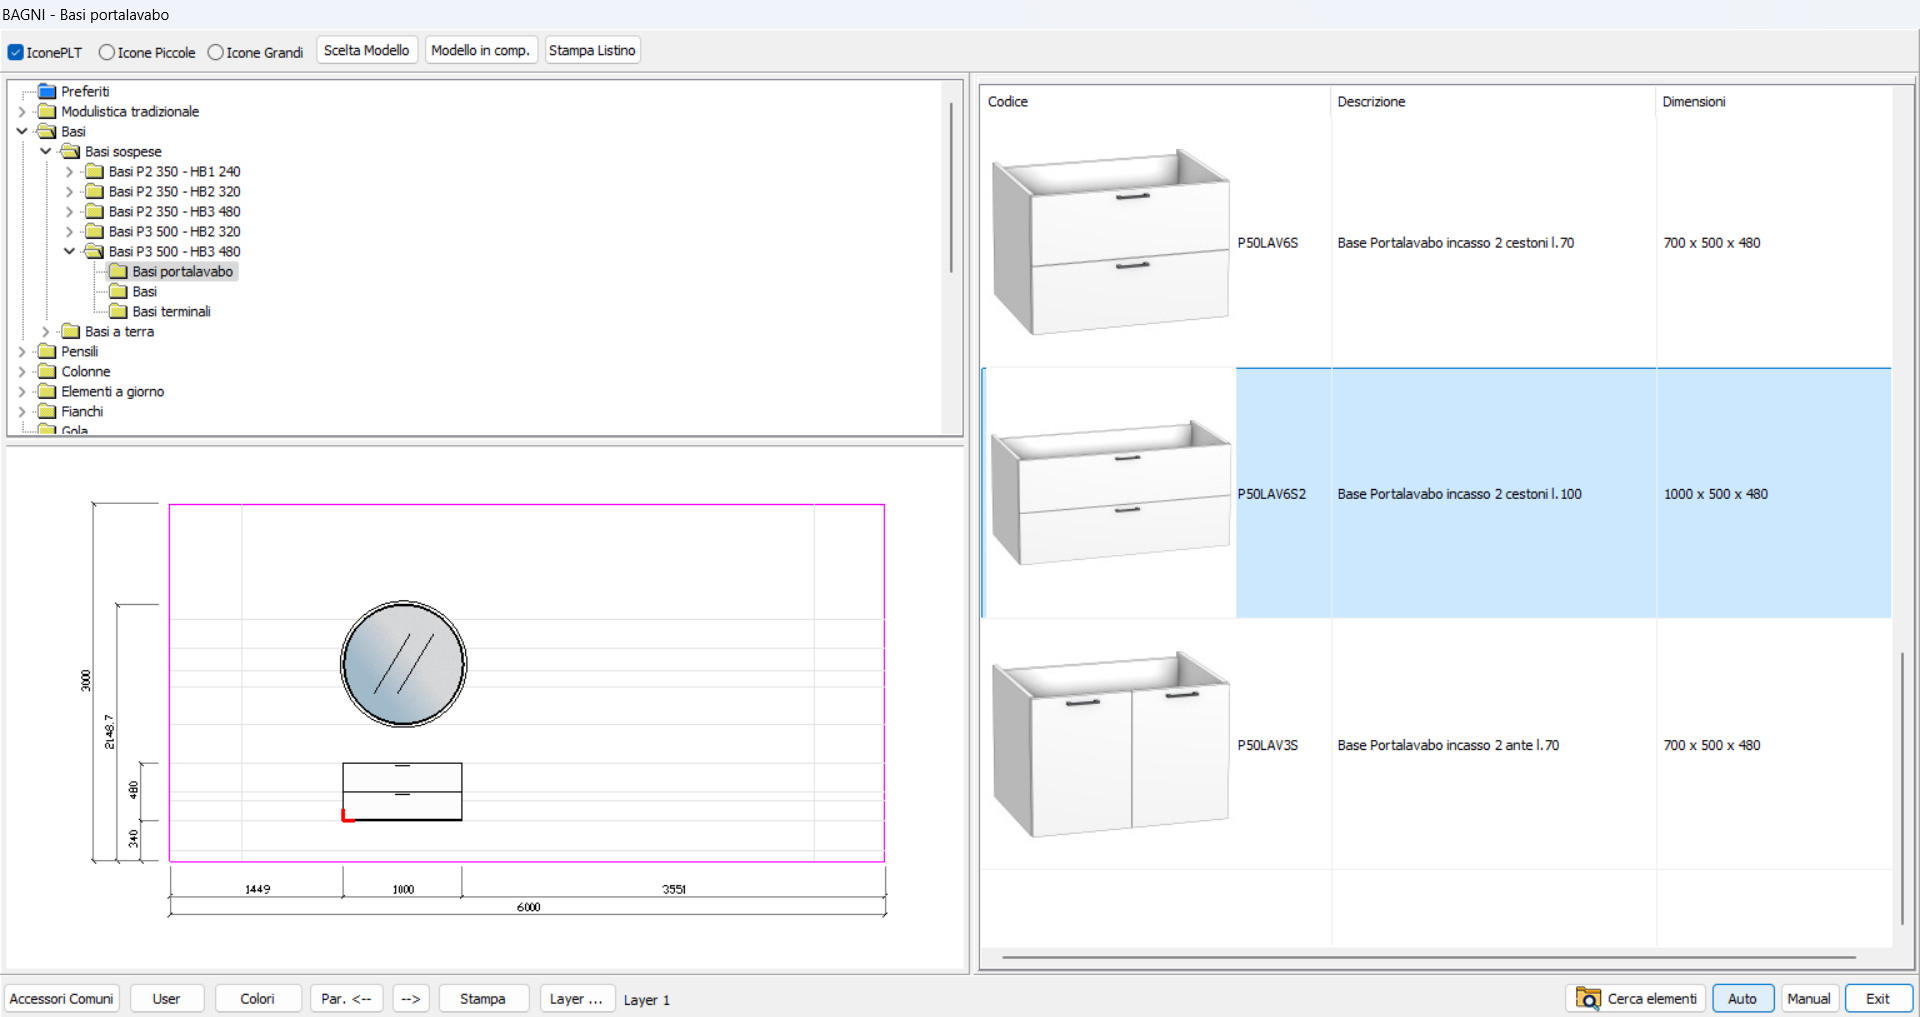
(fig. 1)
From the folder containing Bathroom Countertops, select “Countertops for countertop basins and undermount basins” and double-click on the countertop that matches the depth of your basin unit (fig. 2).
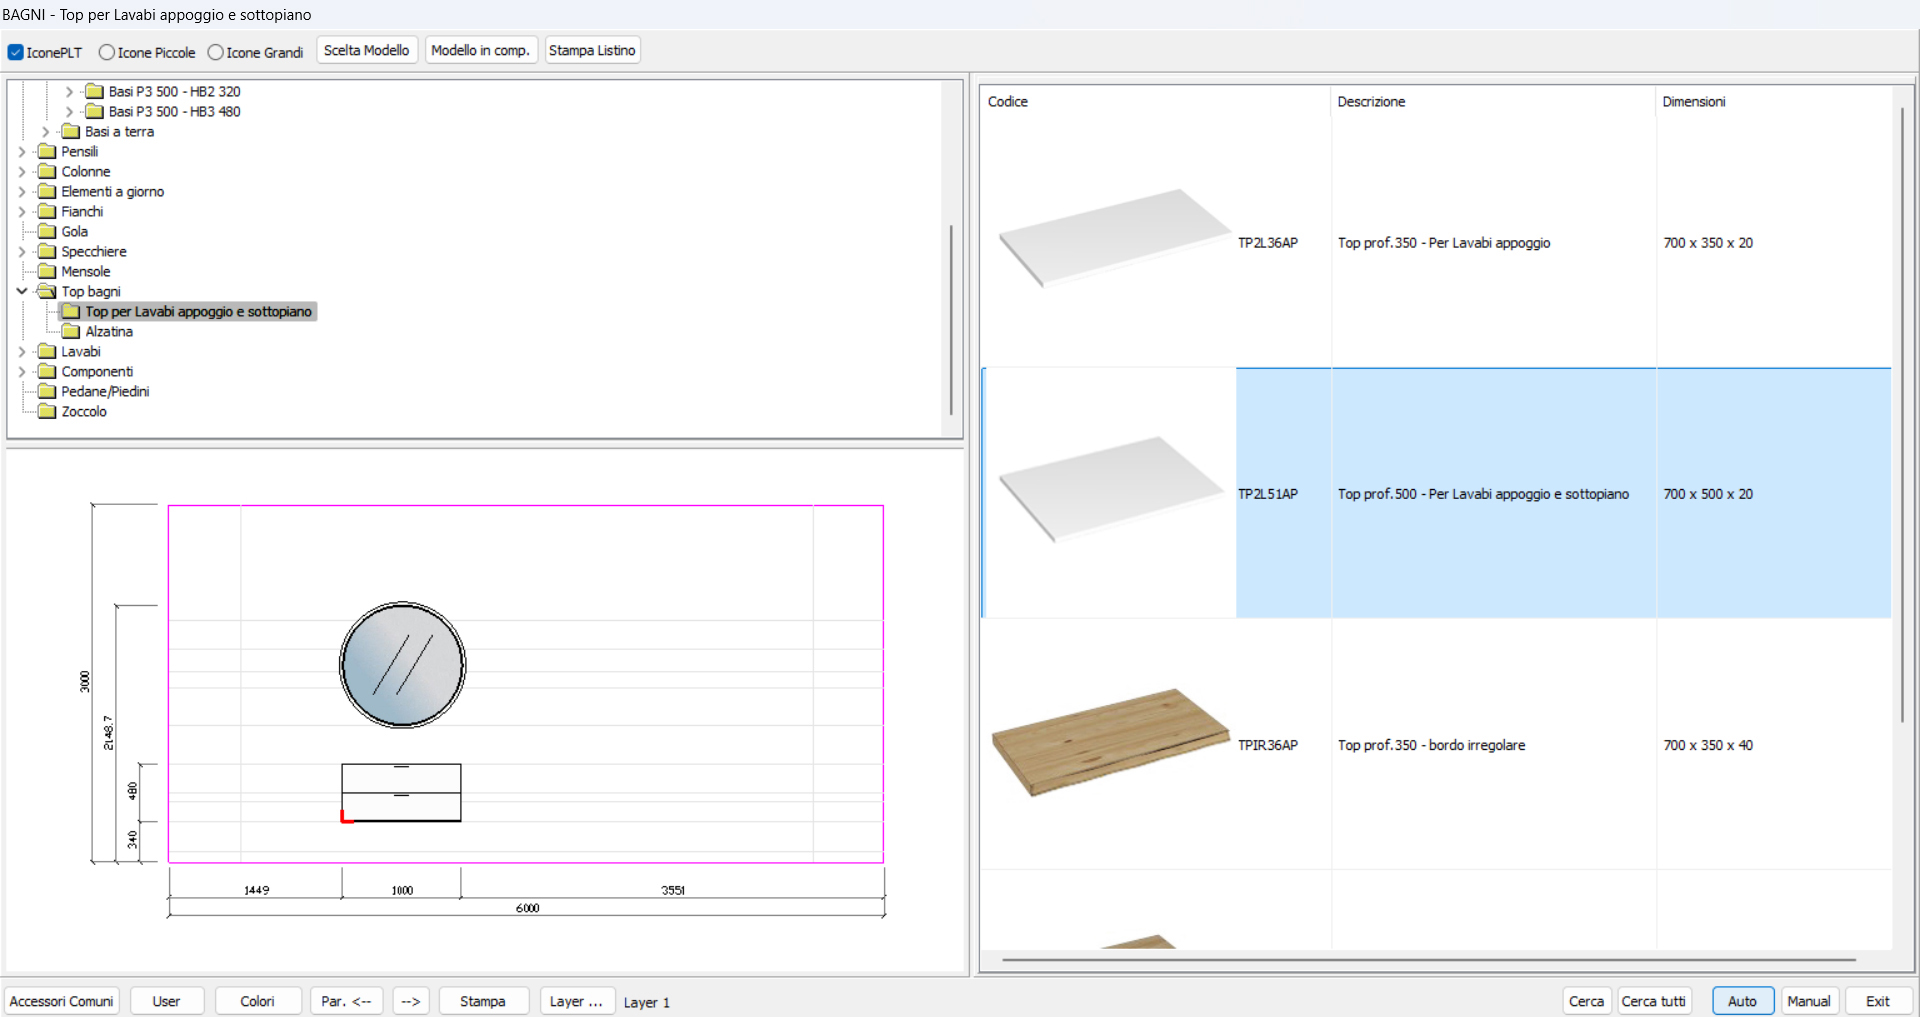
(fig. 2)
When the countertop is inserted, the window to select finishes will open (fig. 3).
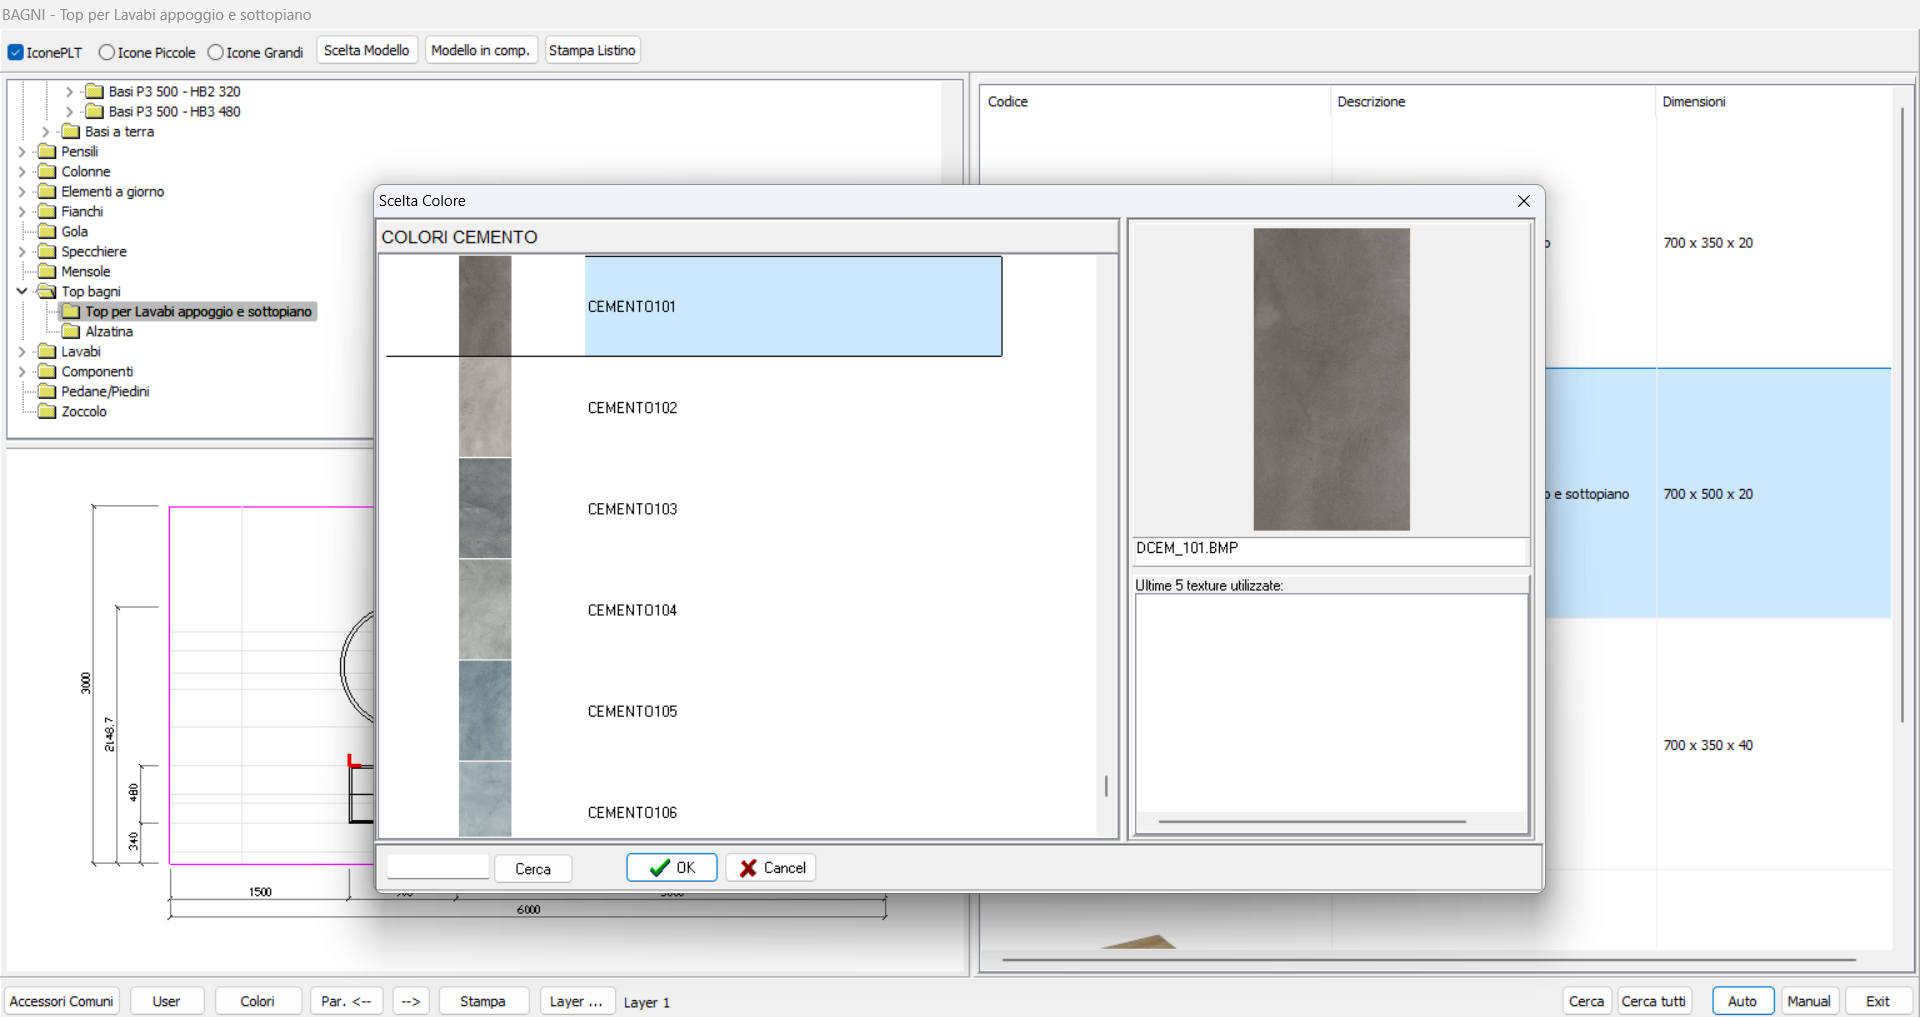
(fig. 3)
Then choose the type of insertion, which in this case will be automatic (fig. 4), the thickness (fig. 5), and finally the edge type (fig. 6).
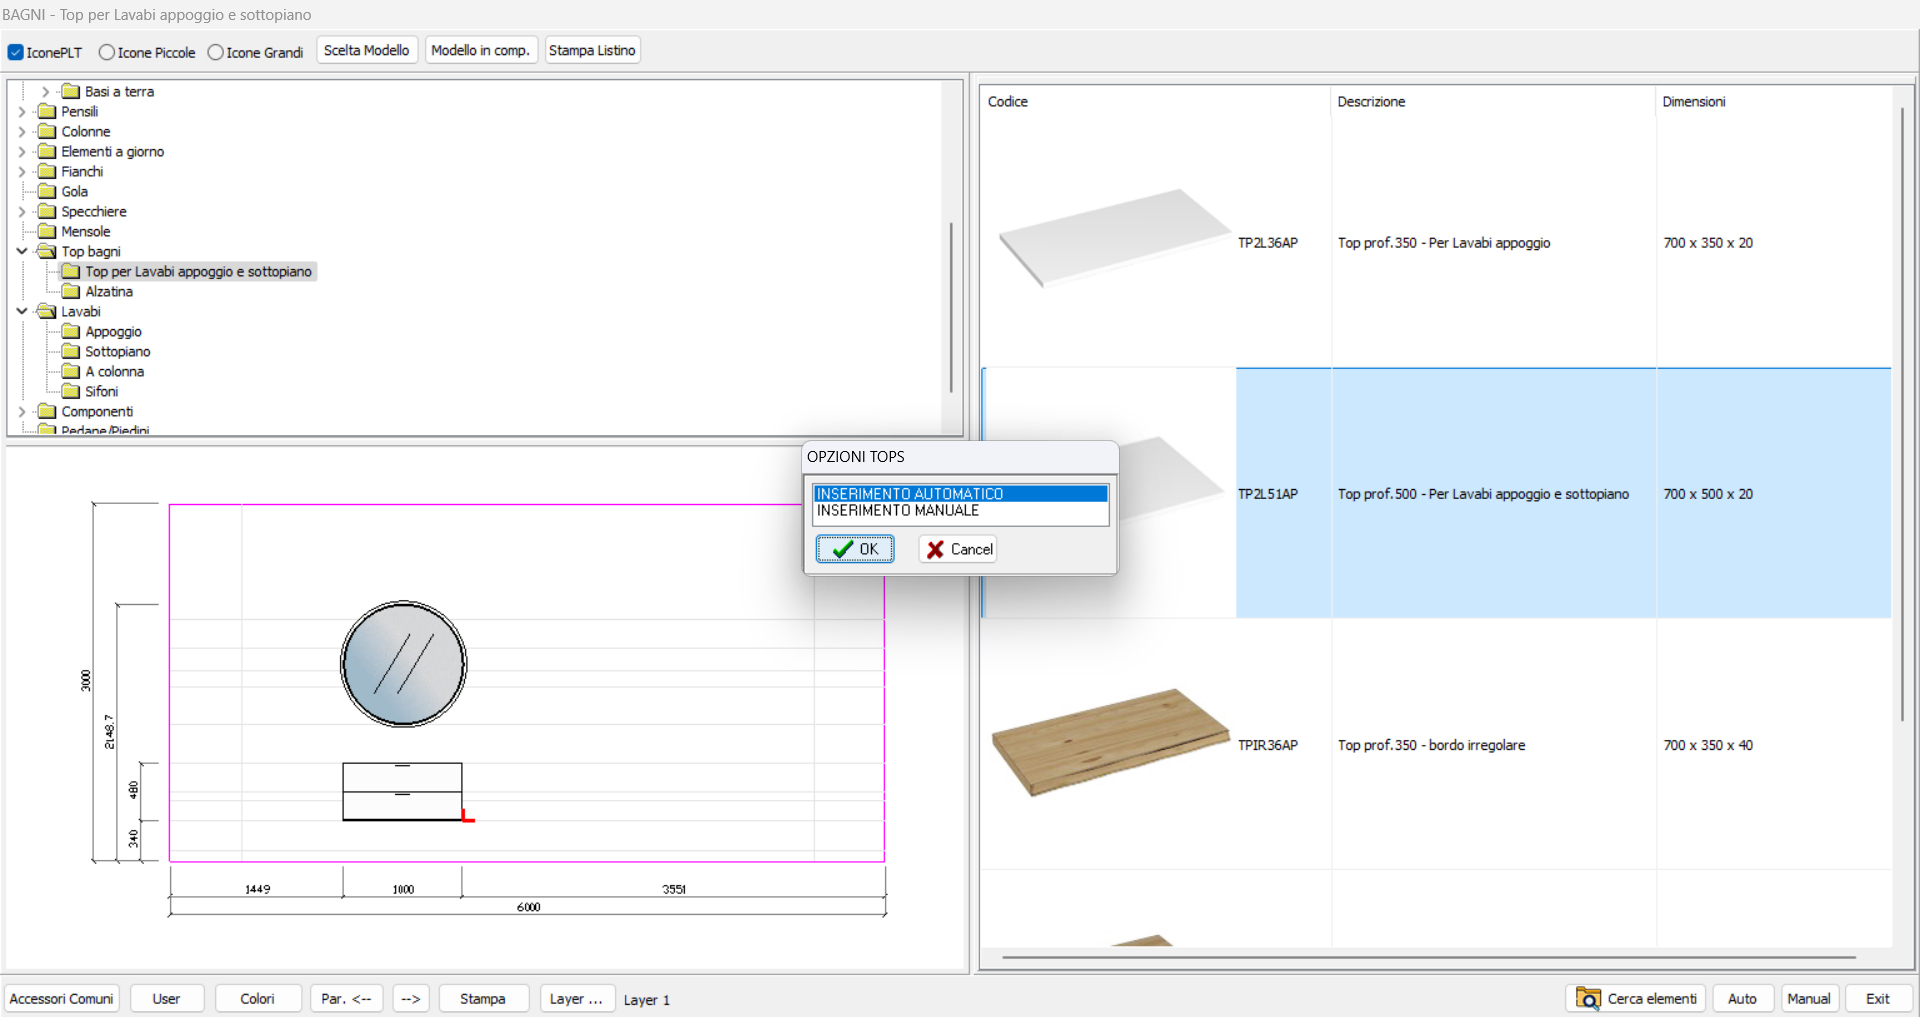
(fig. 4)
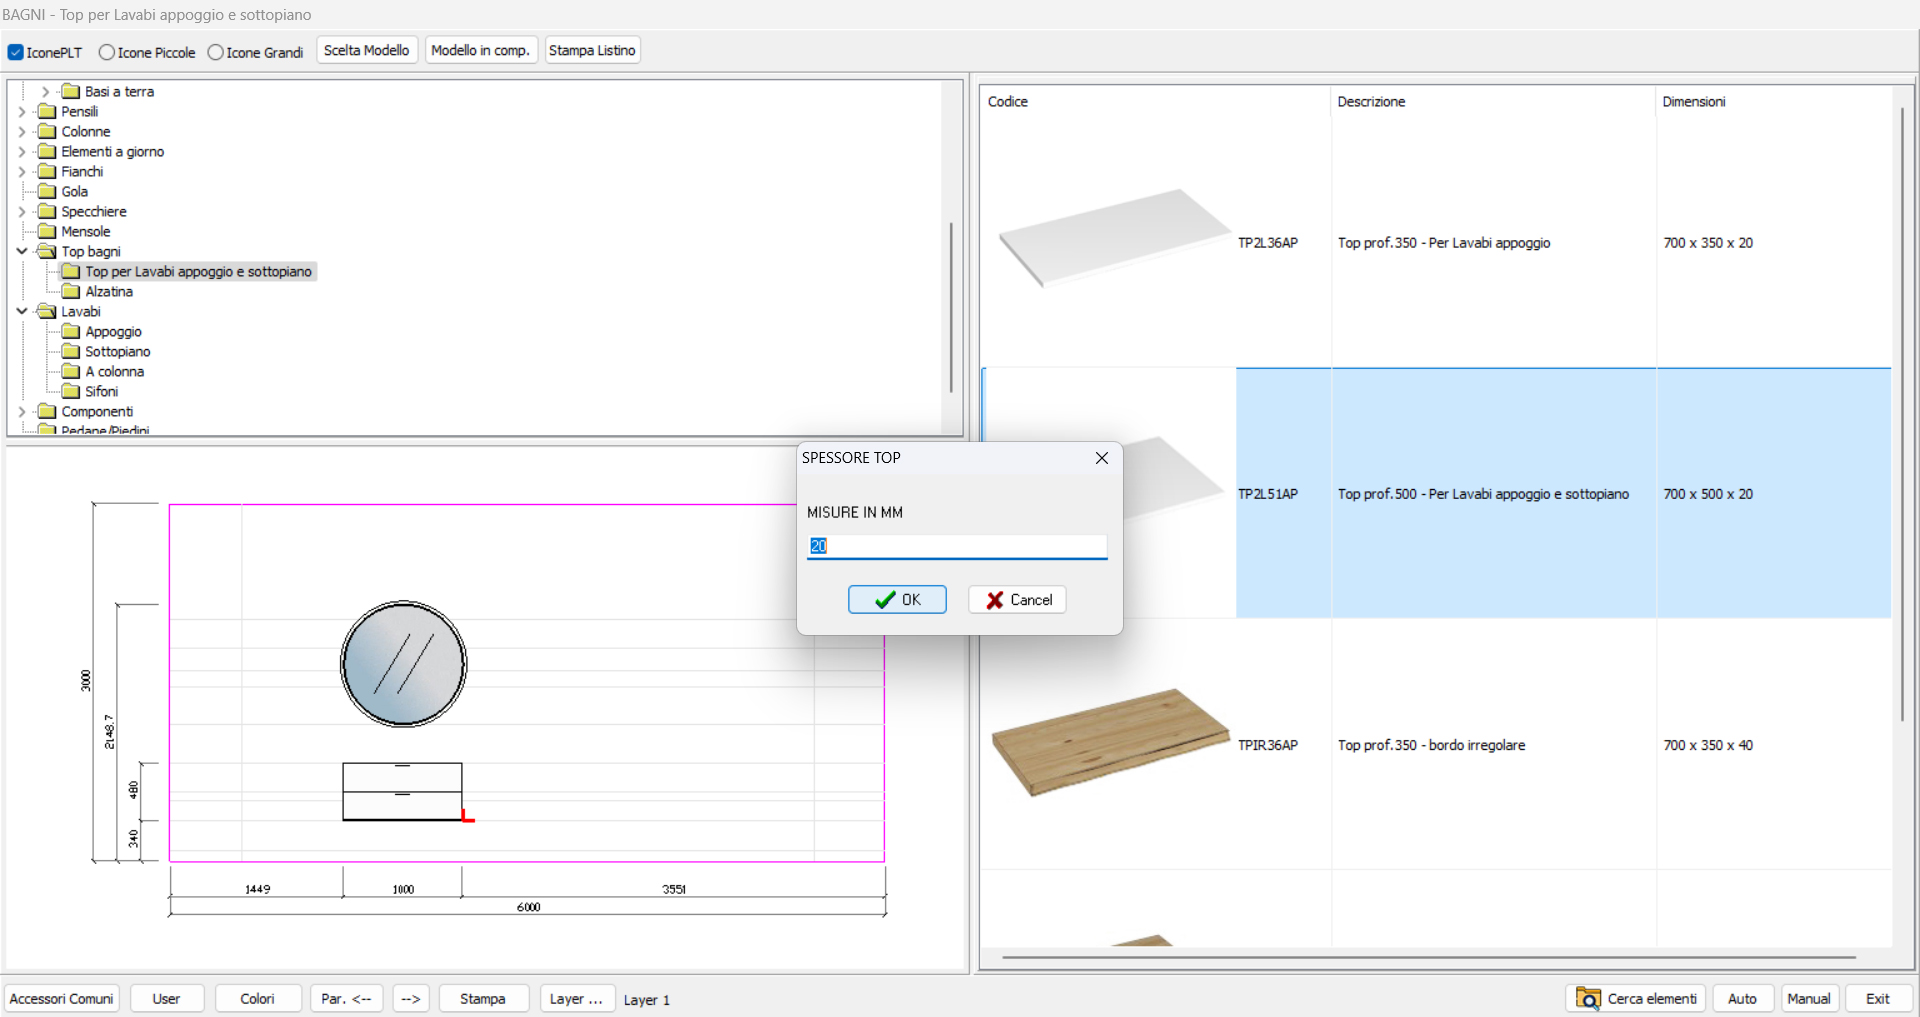
(fig. 5)
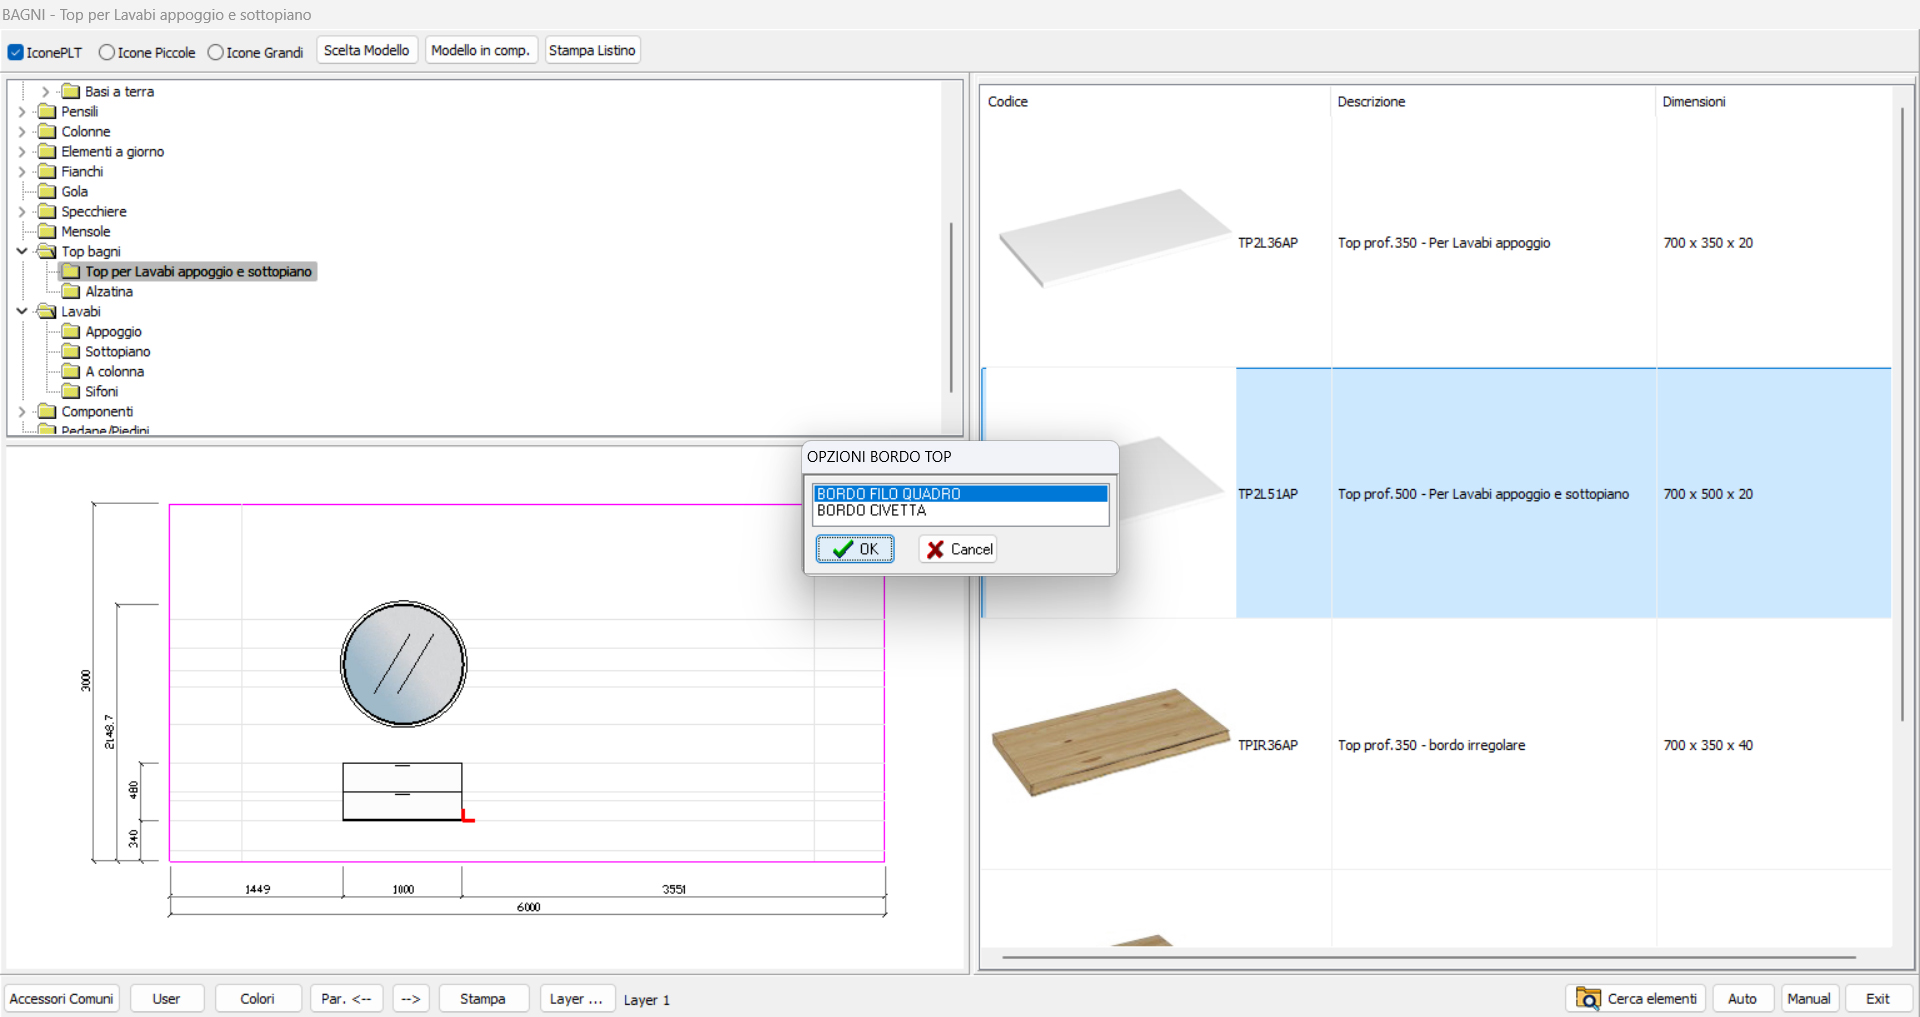
(fig. 6)
Open the folder containing “Basins” located under the folder with Bathroom Countertops, then click on the subfolder with “Undercounter Basins” and select the type of basin with the desired cutout – for example, a rectangular basin – and double-click the item or click Auto. In the next window that will appear, select the installation type: Flushmount or Undermount (figs. 7–8).
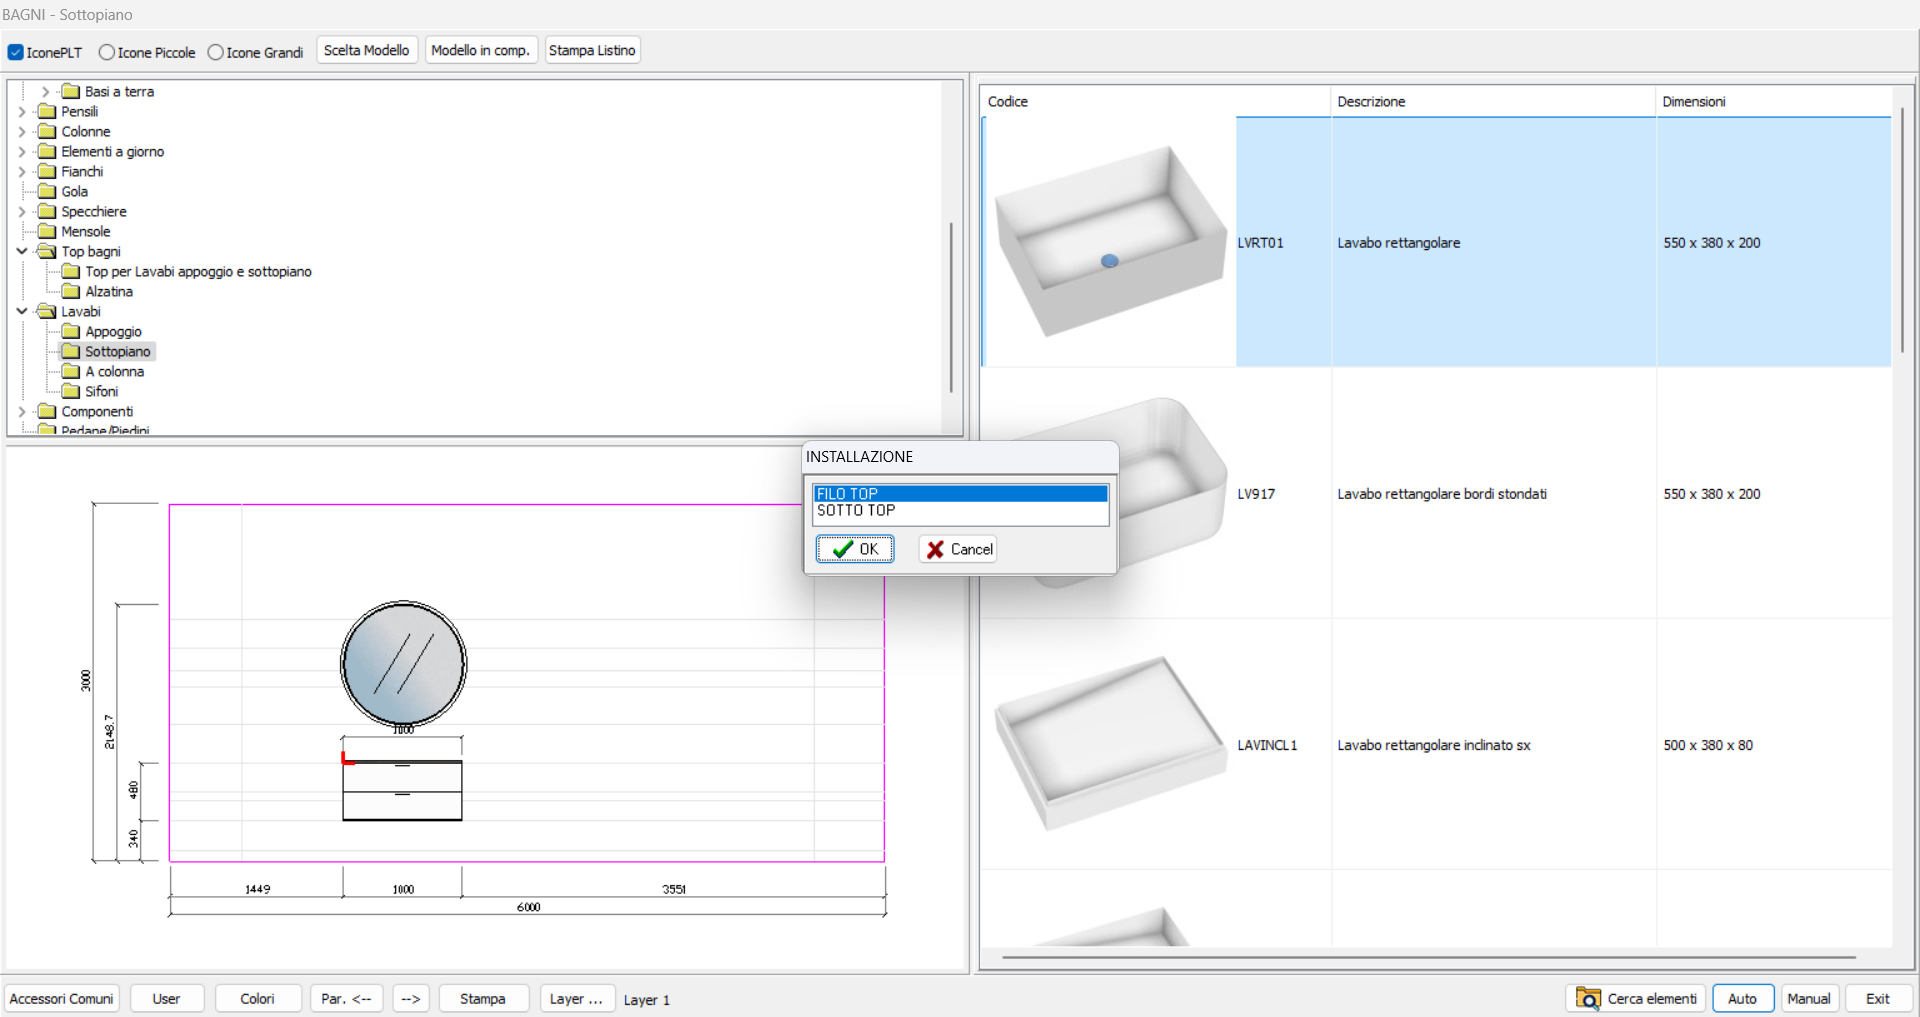
(fig. 7)
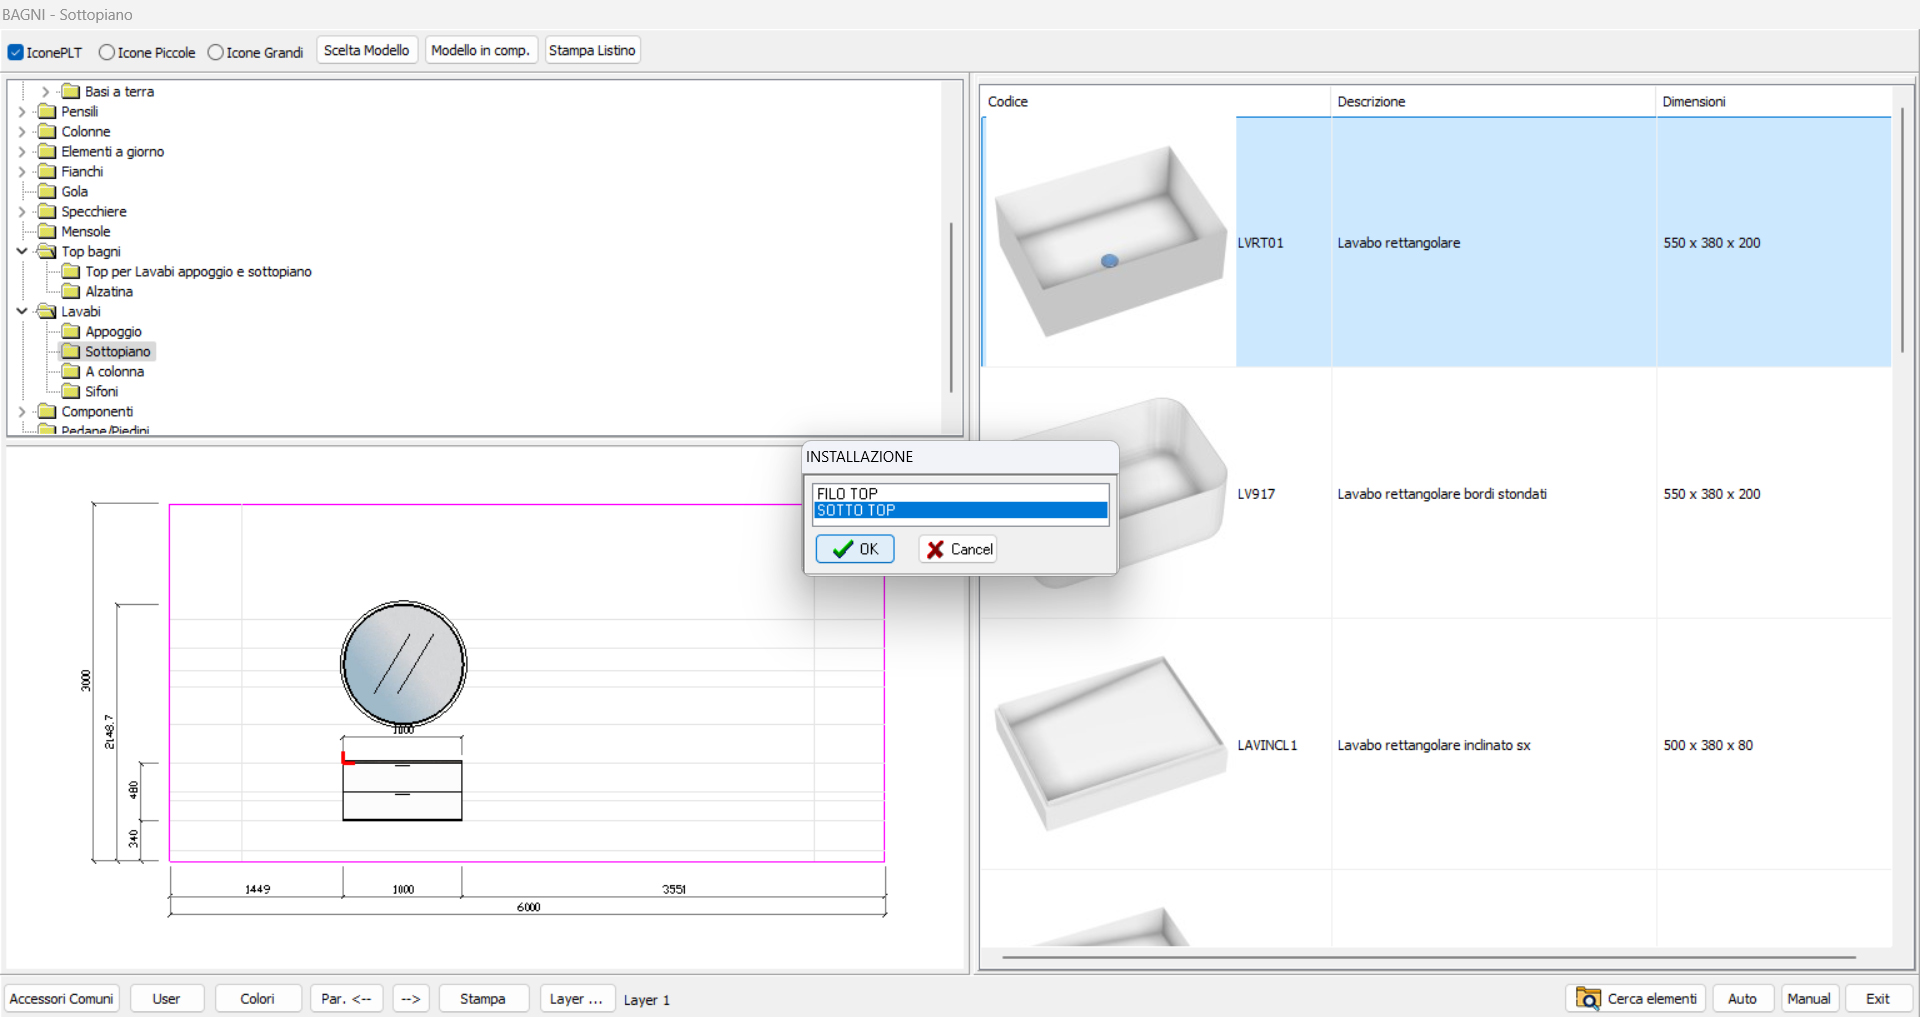
(fig. 8)
If your project includes only one vanity unit with basin, the basin will be automatically centered on the vanity unit. The final result will look like figure 9.
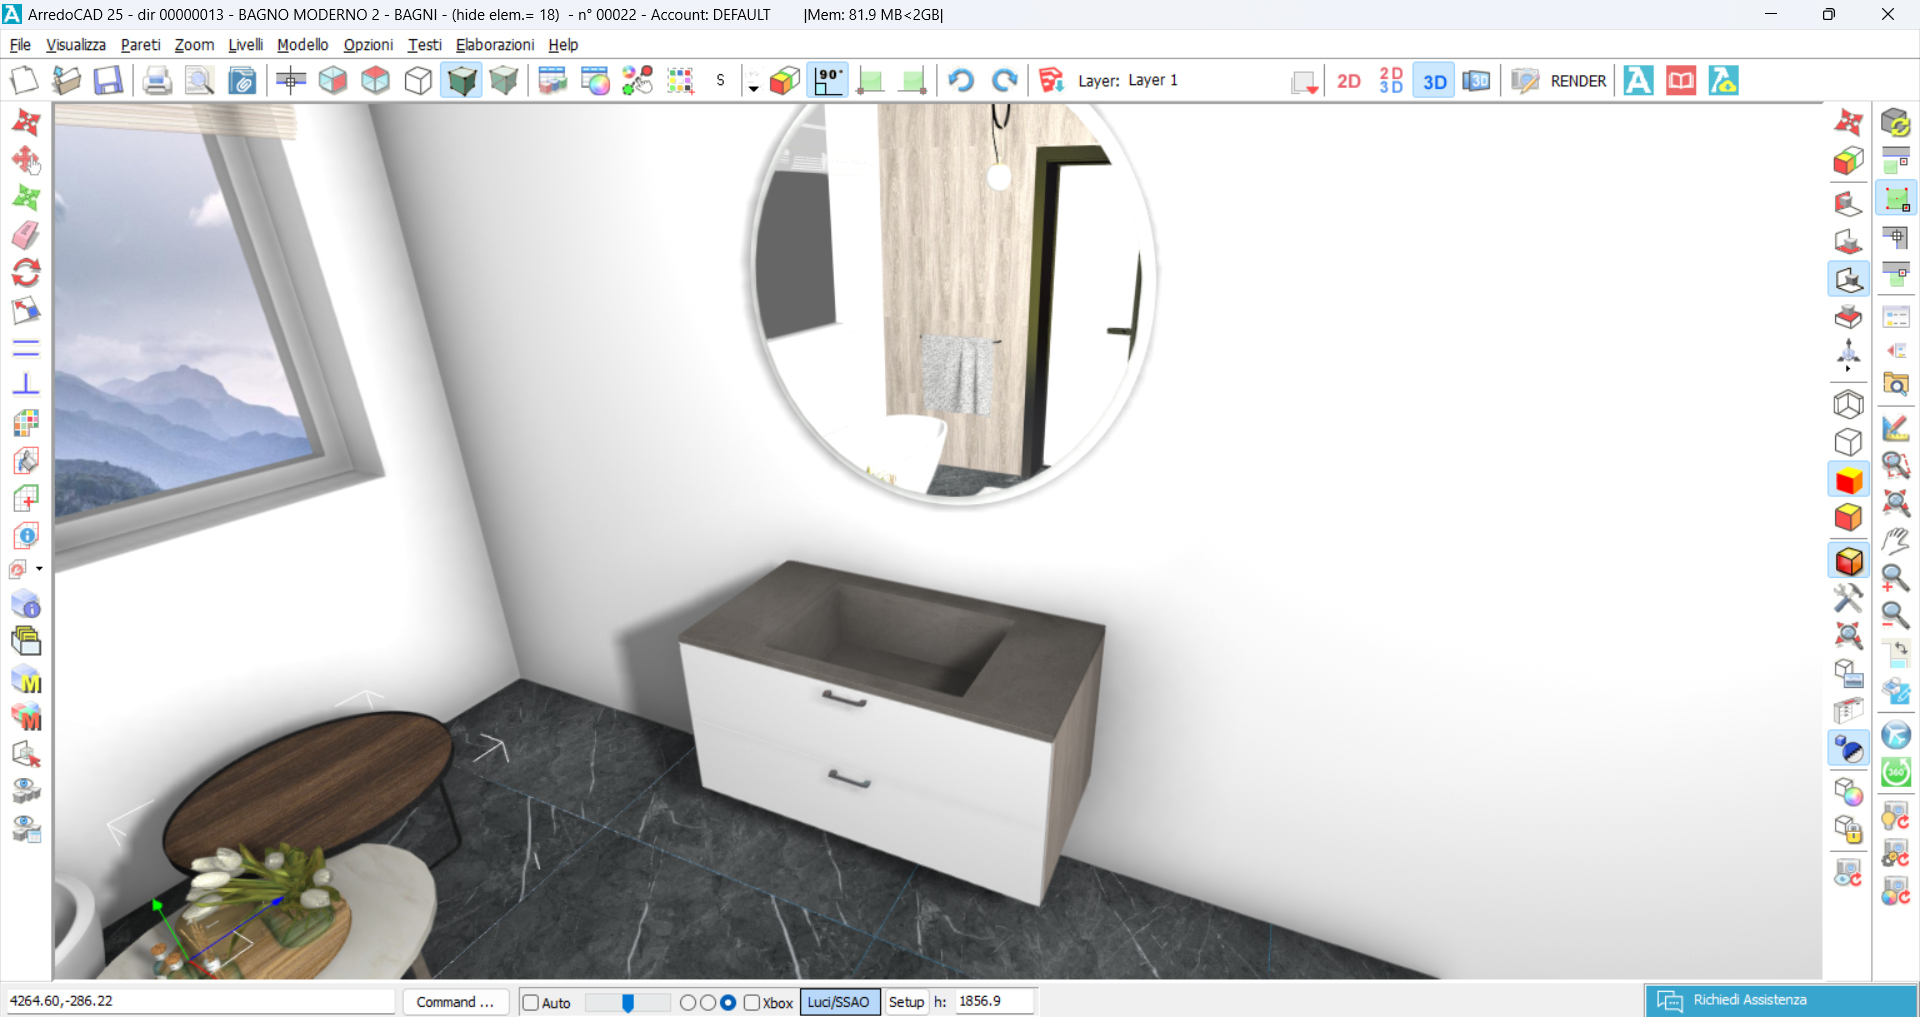
(fig. 9)
If you wish to insert a countertop basin, after inserting the countertop, click on the folder “Washbasins” and open the subfolder “Countertop basins”. Select the desired basin type and insert it by double-clicking on the element or using Auto, making sure the red cursor is positioned on the basin vanity unit or on the countertop. This will automatically center the basin on the vanity unit (fig. 10).
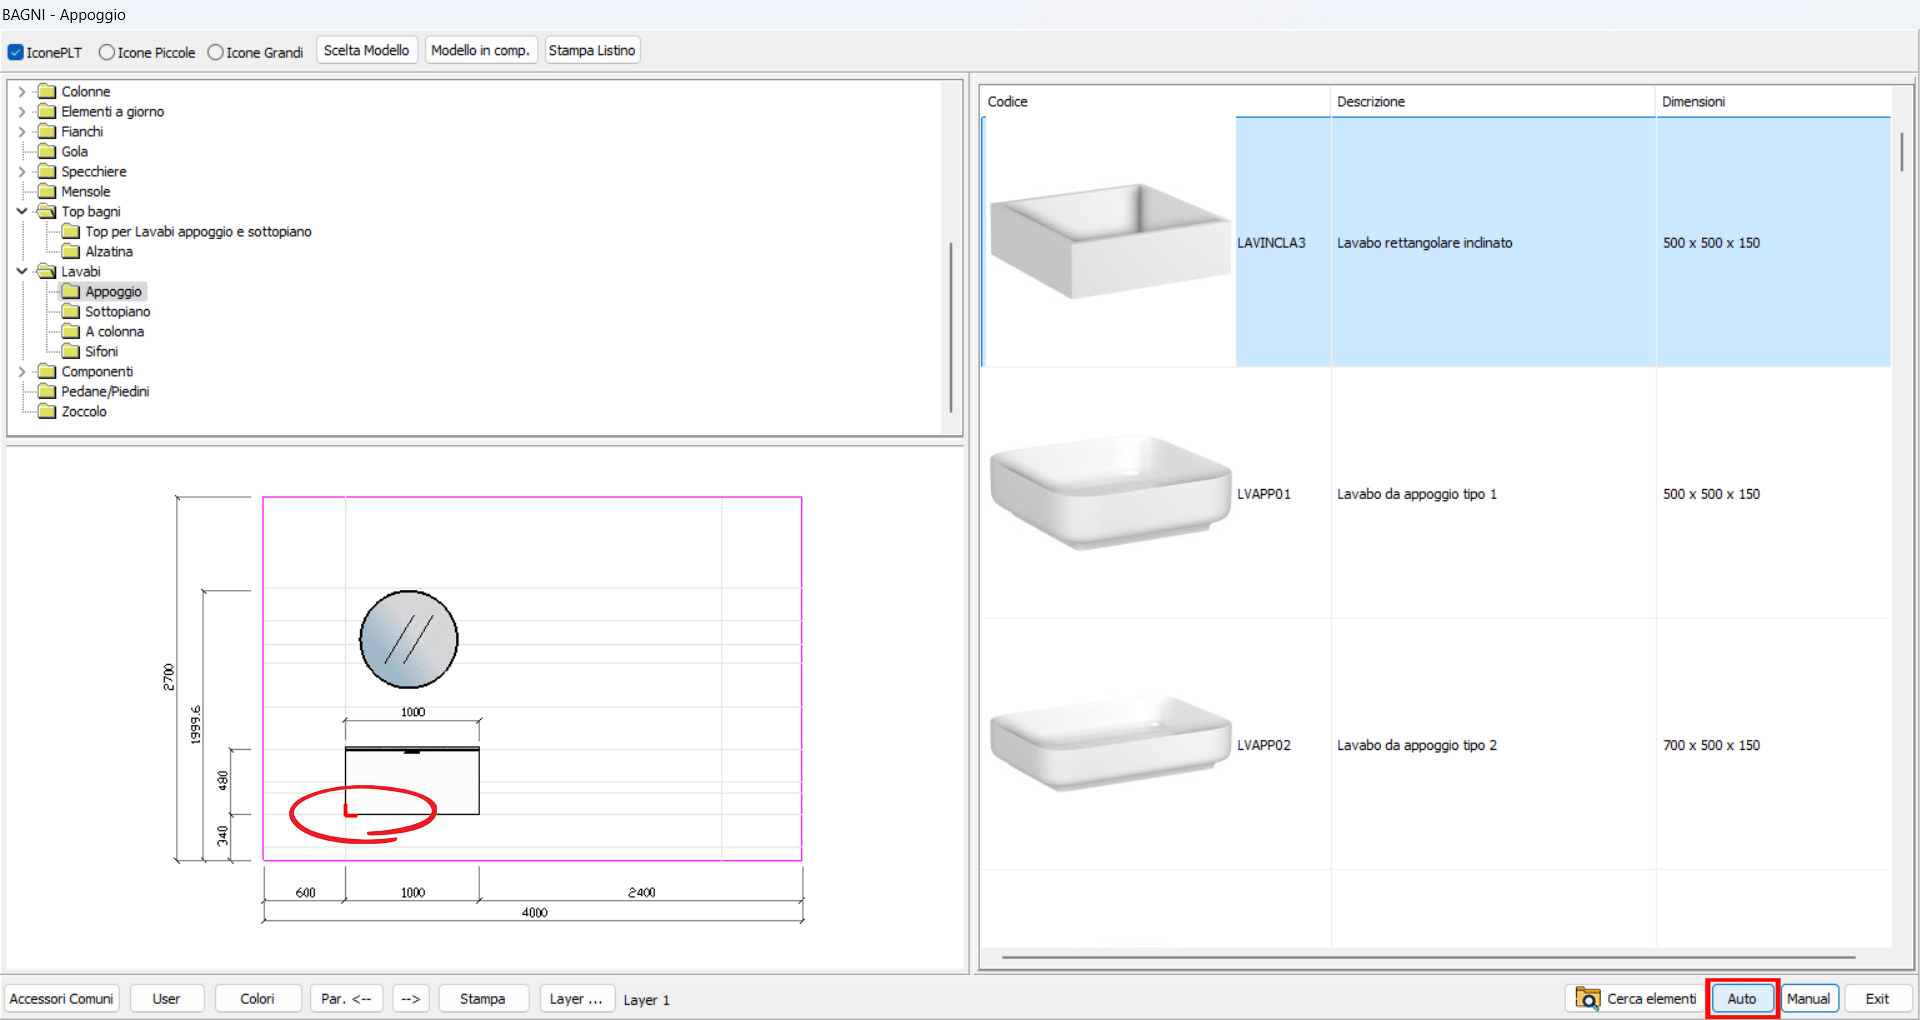
(fig. 10)
Alternatively, if you would like to manually place the basin, select “Manual” at the bottom right to exit the Element List and click directly on the countertop (figs. 11–12).
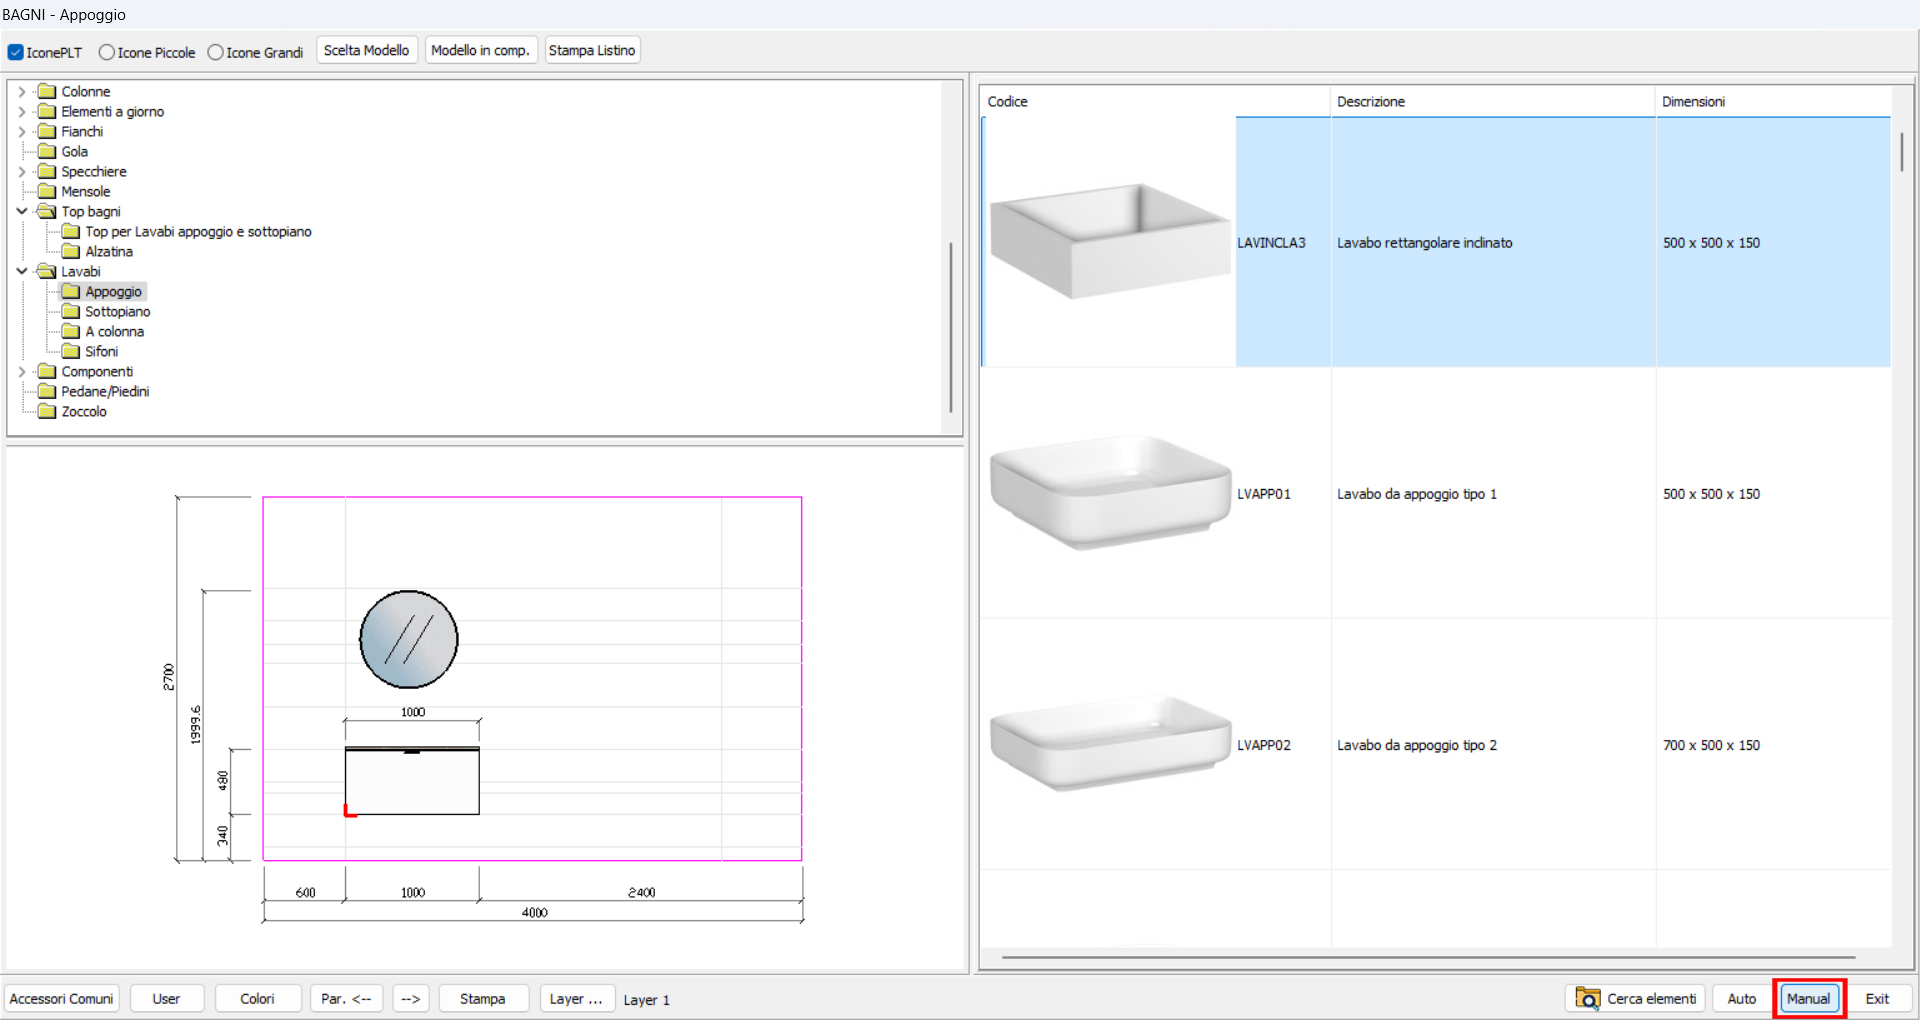
(fig. 11)
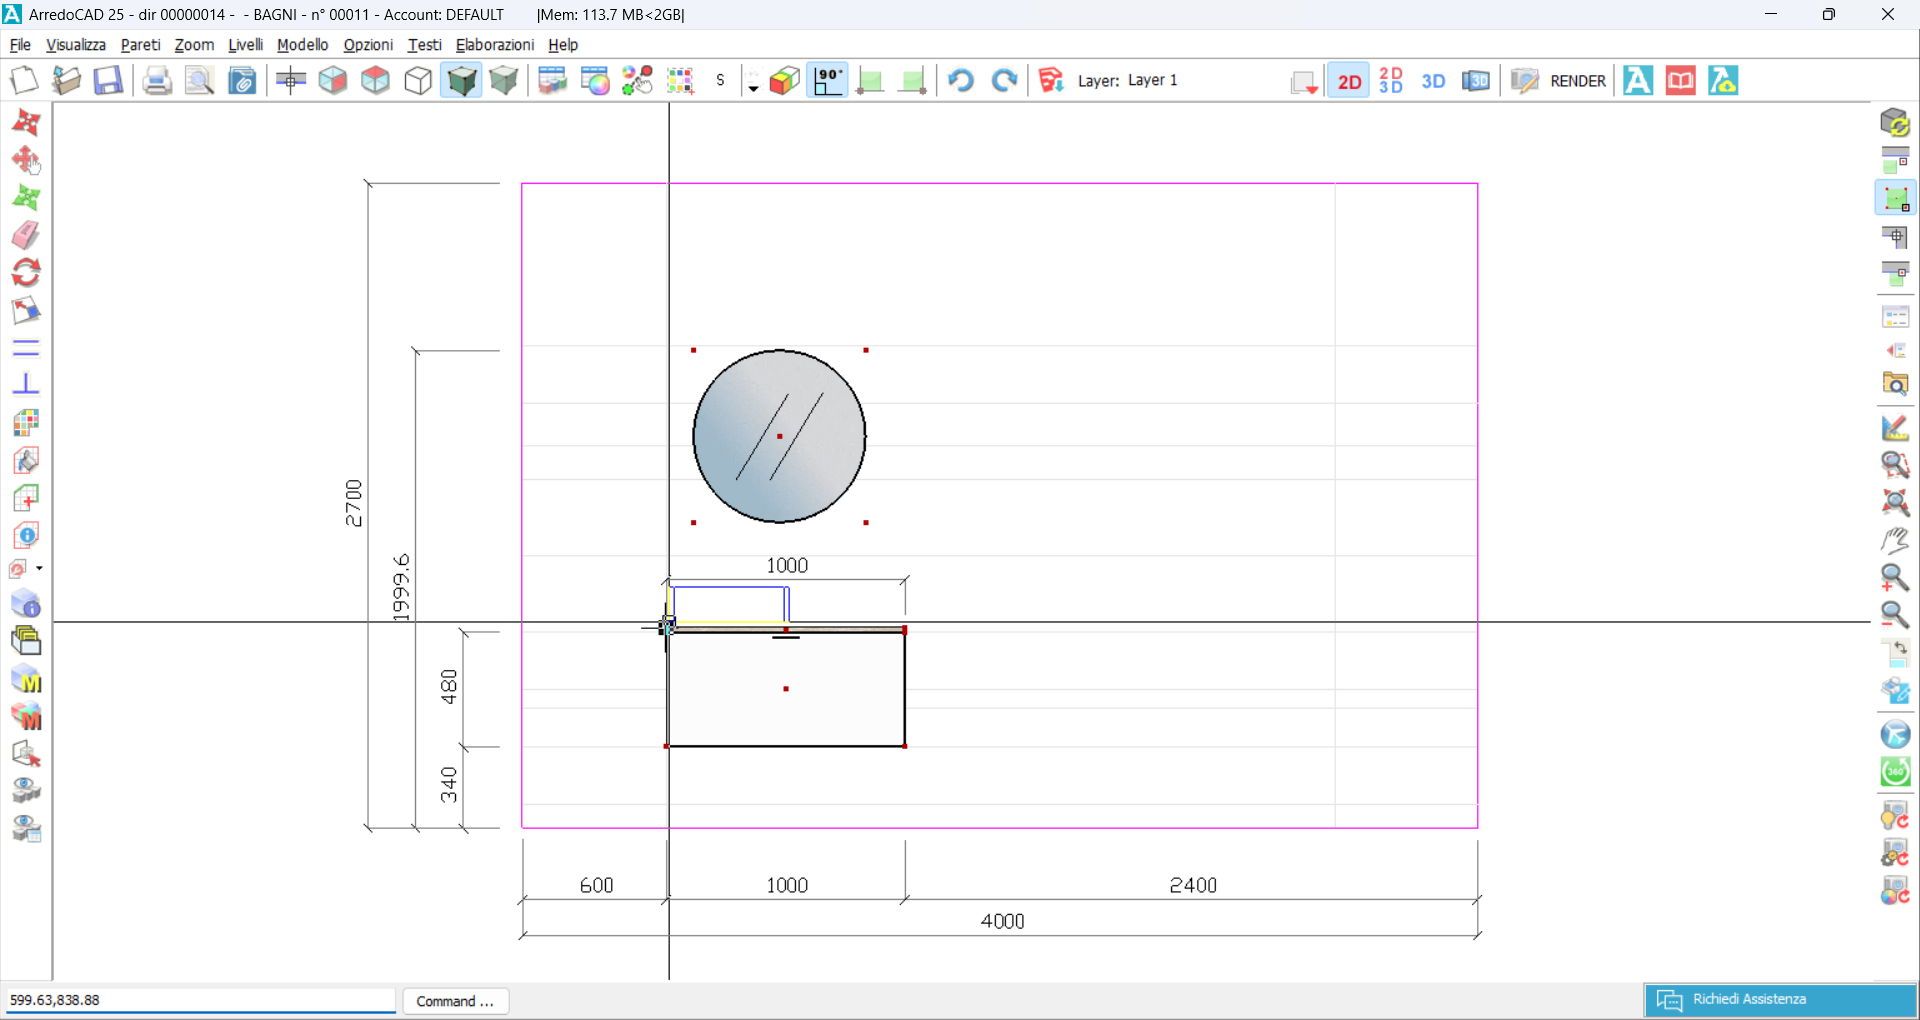
(fig. 12)
At this point, a window will appear where you can choose to insert the basin in either “With displacement” or “Free” mode (fig. 13).
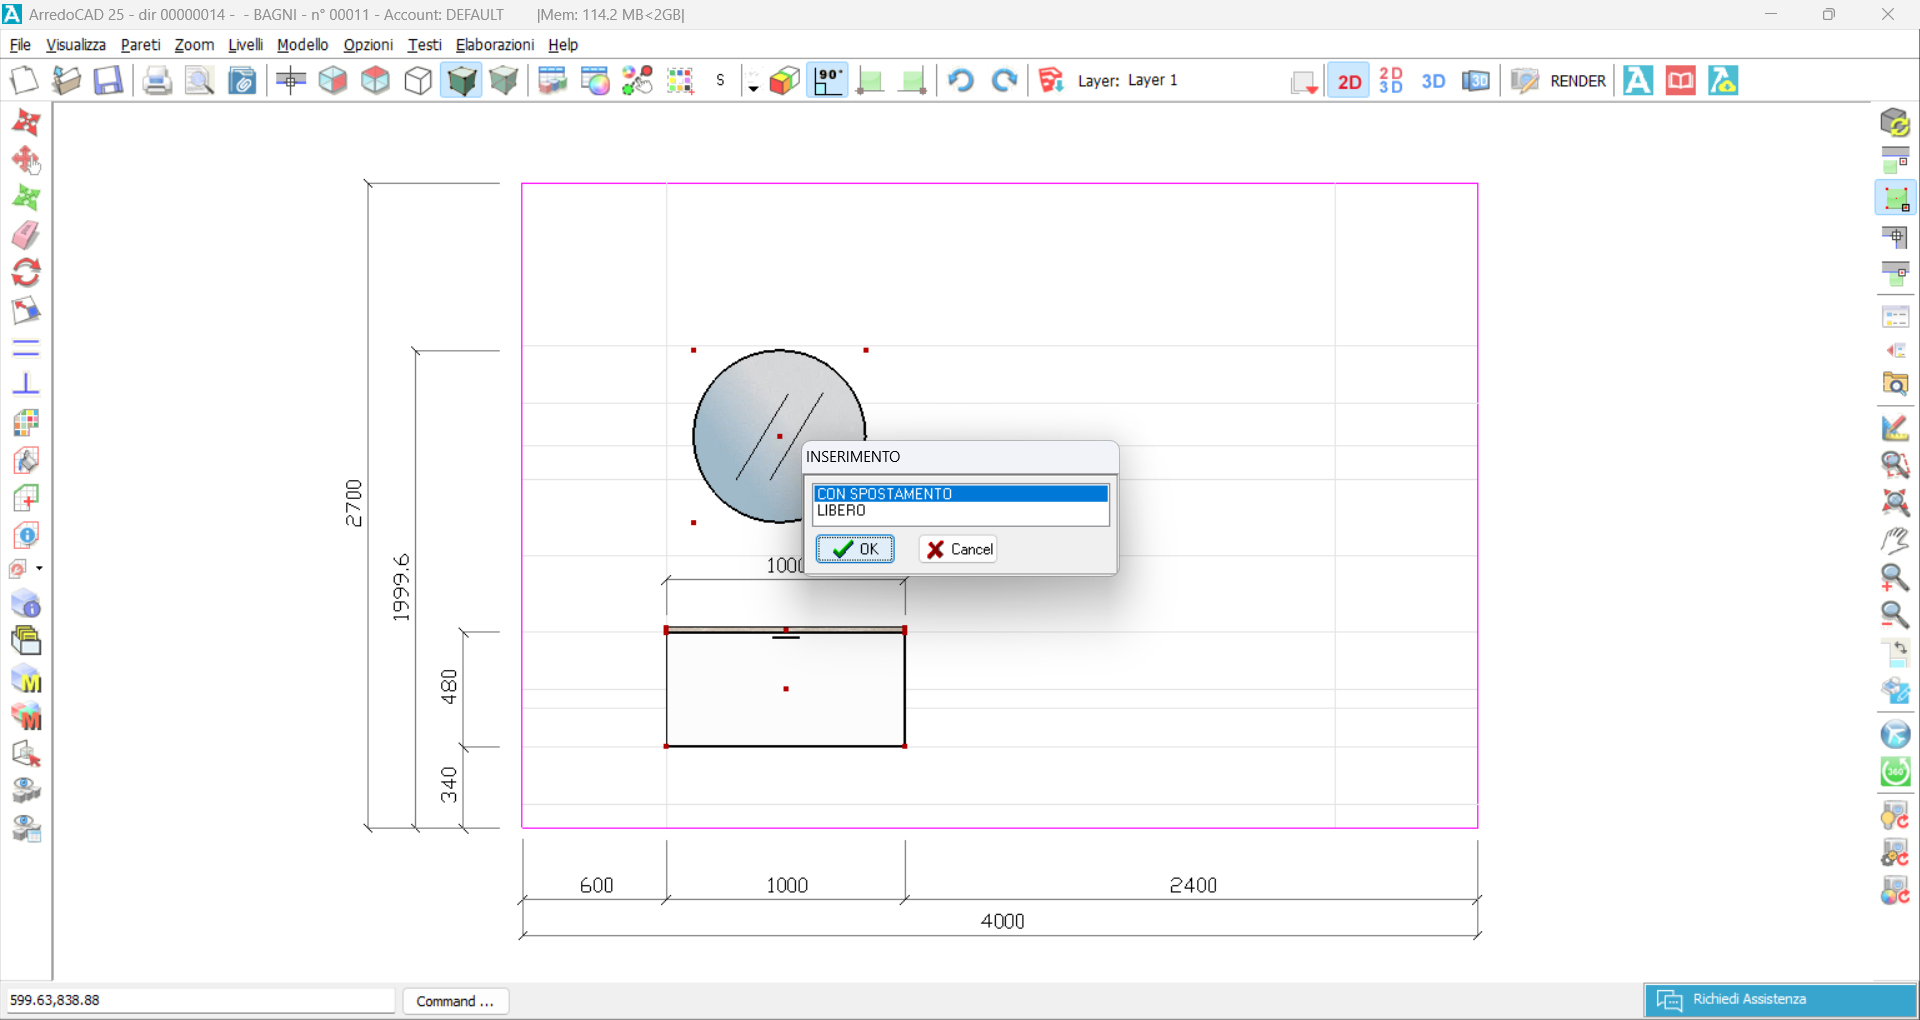
(fig. 13)
If you choose the “With displacement” mode, you will then need to specify whether to move it to the right or to the left compared to the clicked point (fig. 14) and how many millimeters it should be displaced (fig. 15). The result will be as shown in figure 16.
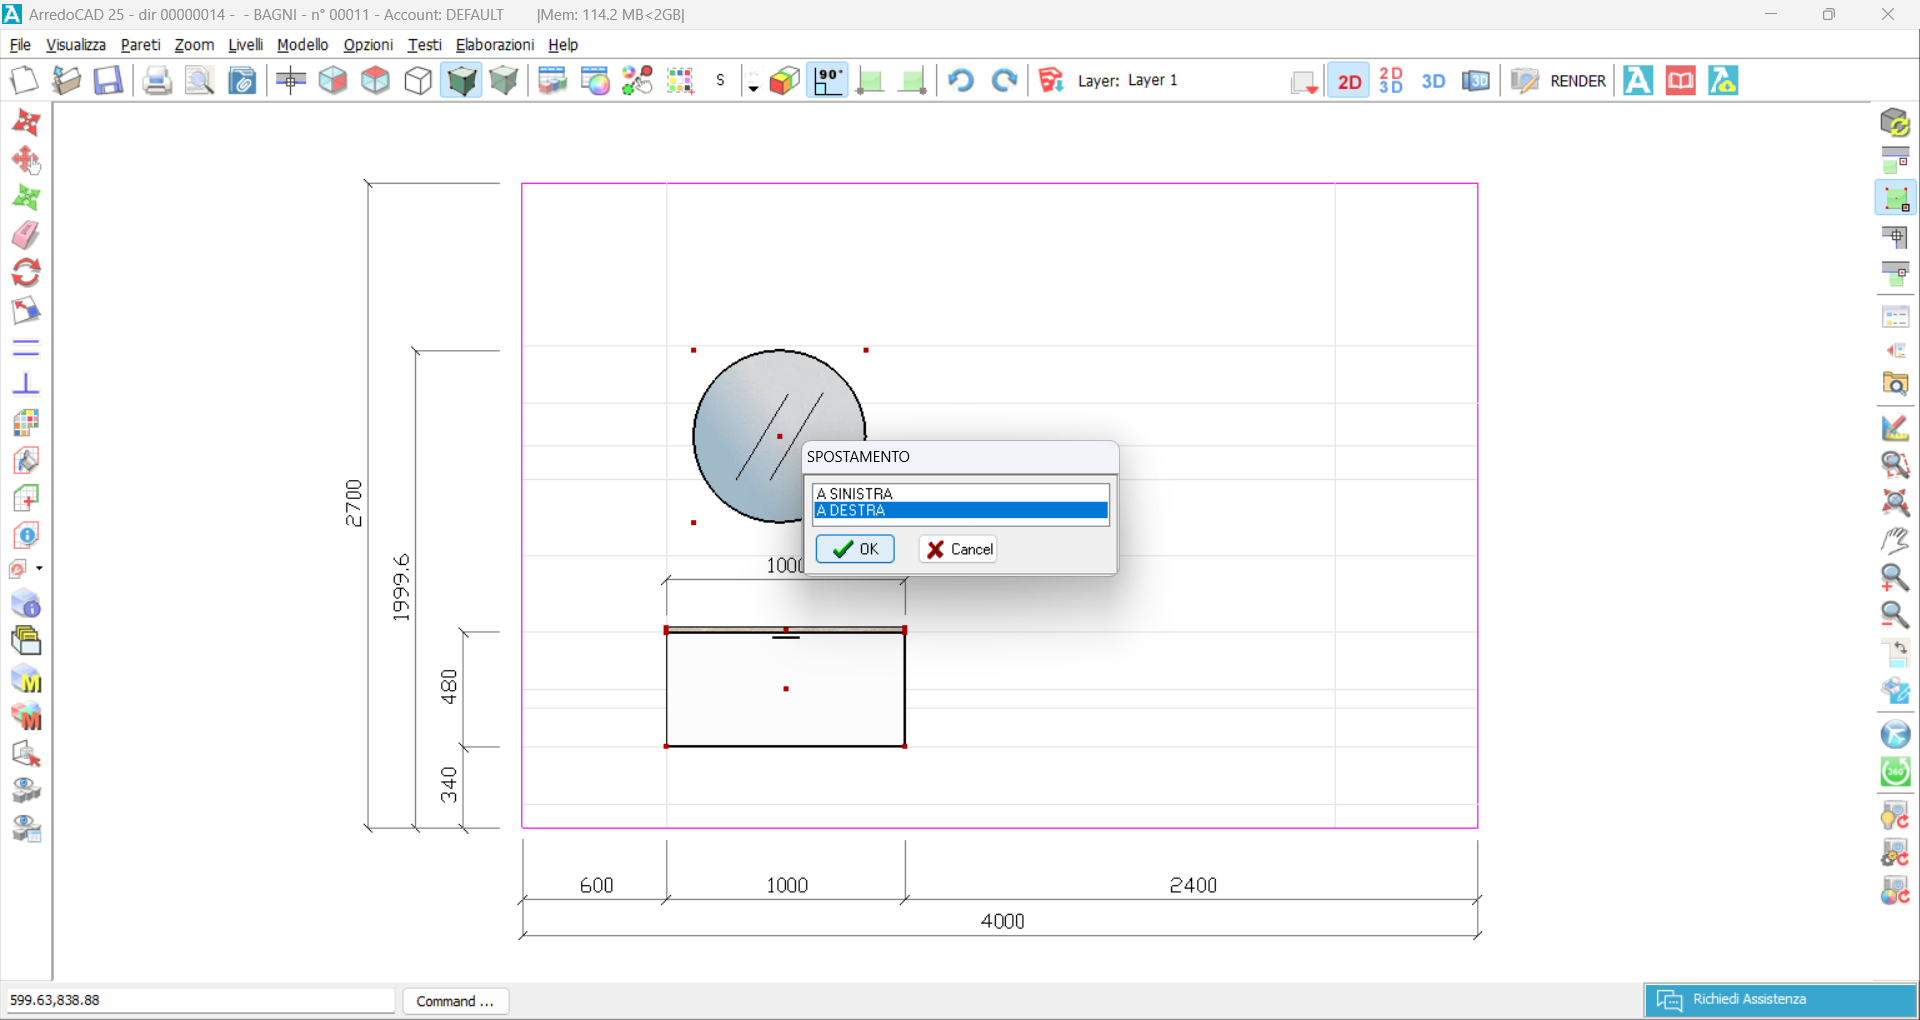
(fig. 14)
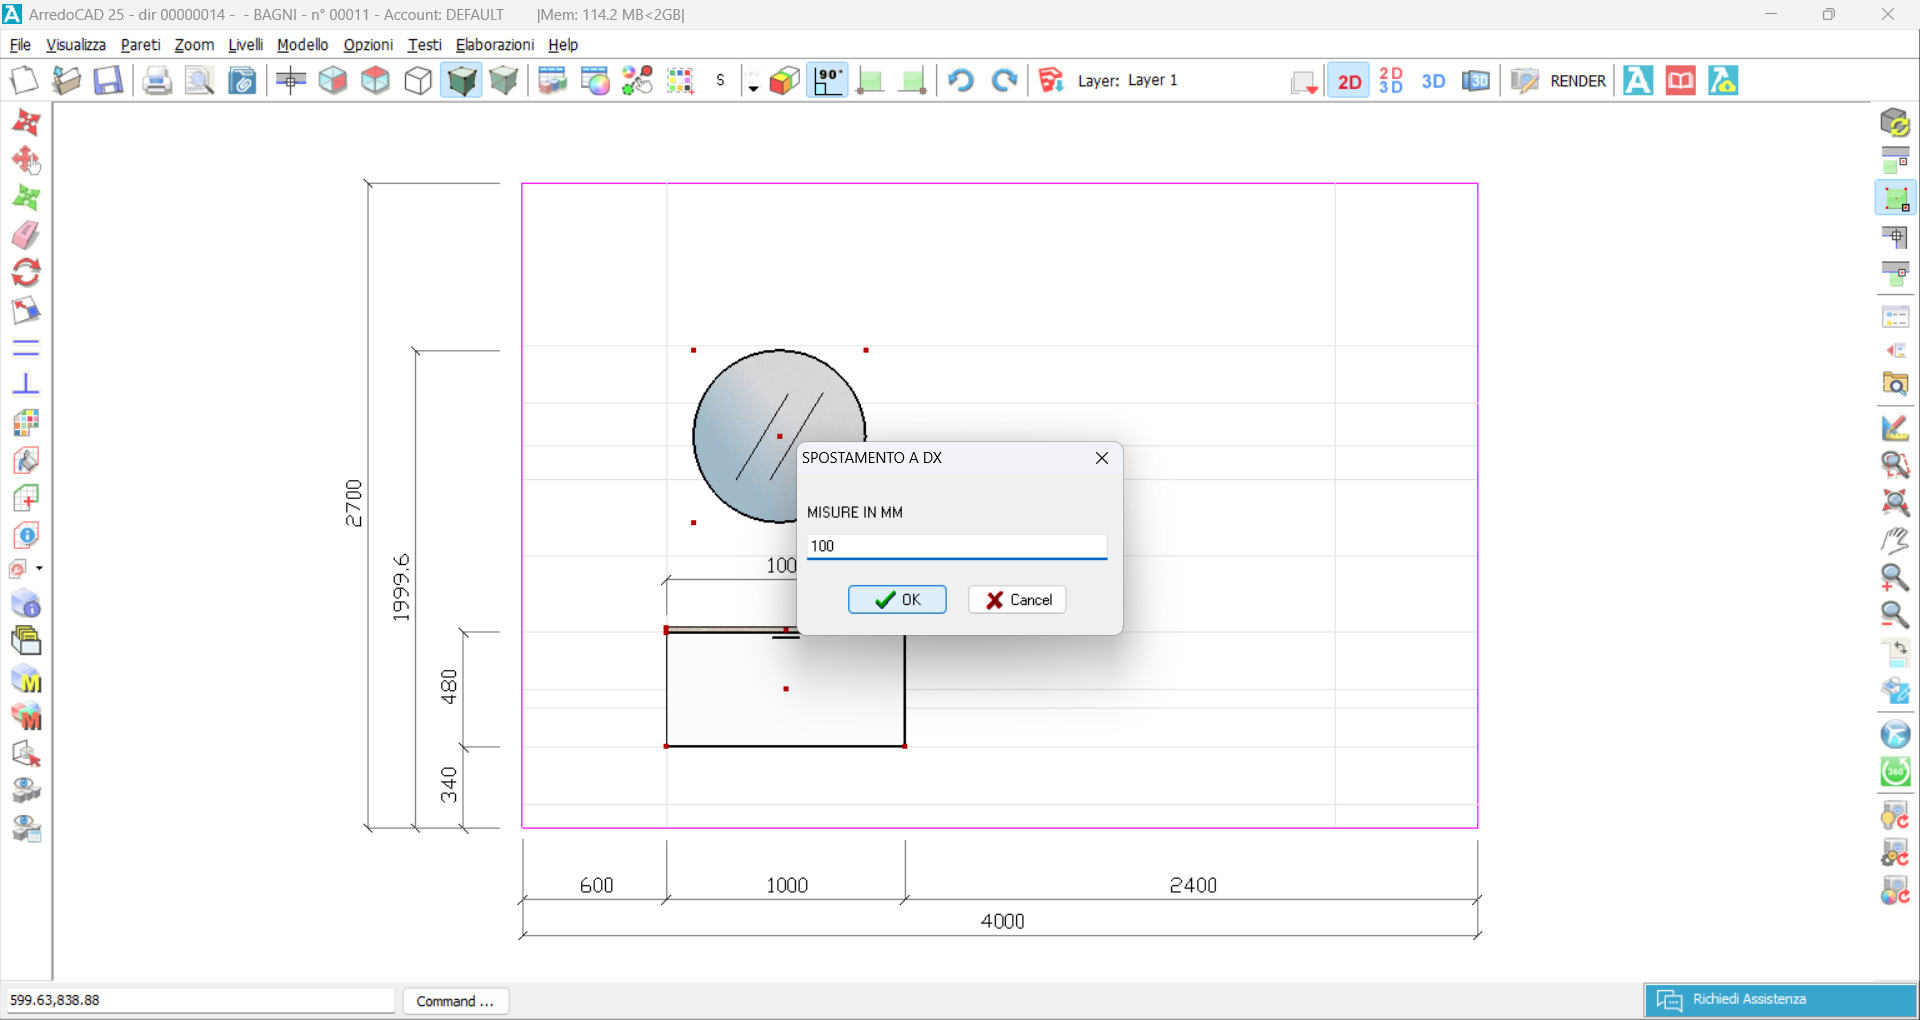
(fig. 15)
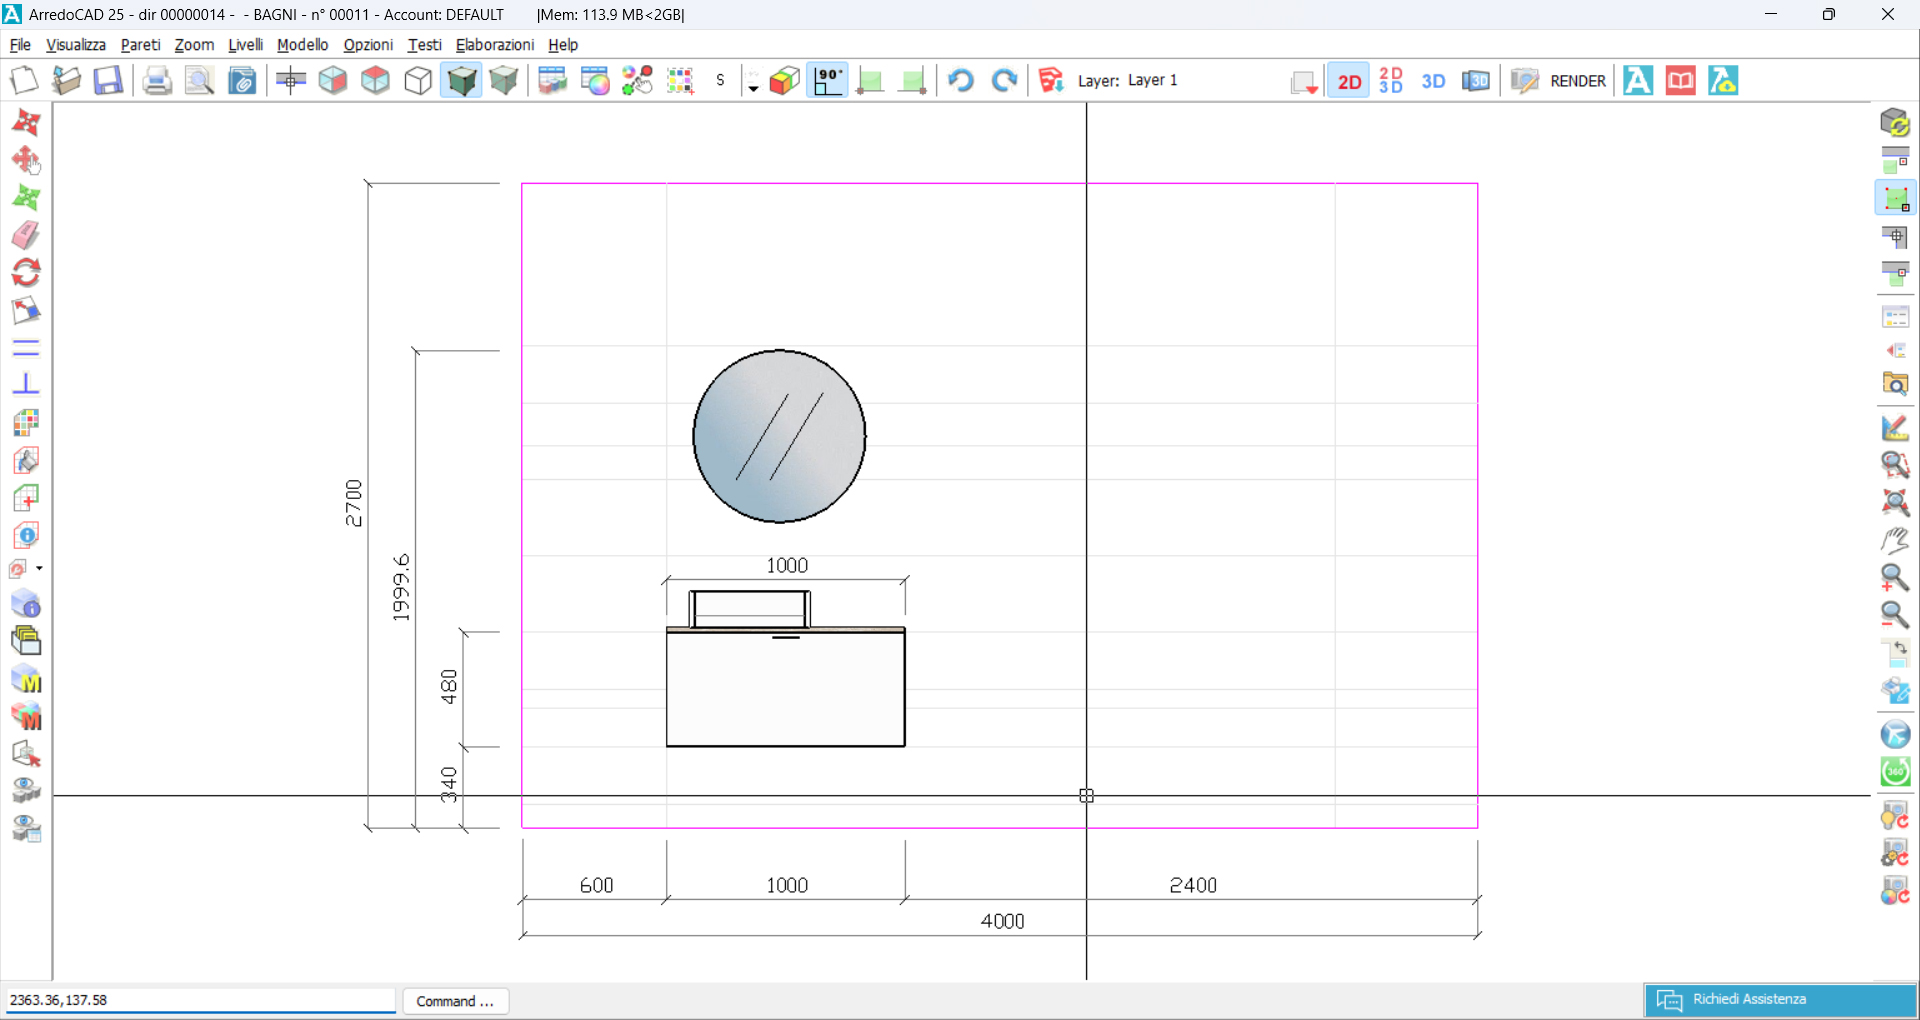
(fig. 16)
If, instead, you choose the “Free” mode during manual insertion (fig. 17), the basin will be placed exactly where you clicked on the countertop (fig. 18).
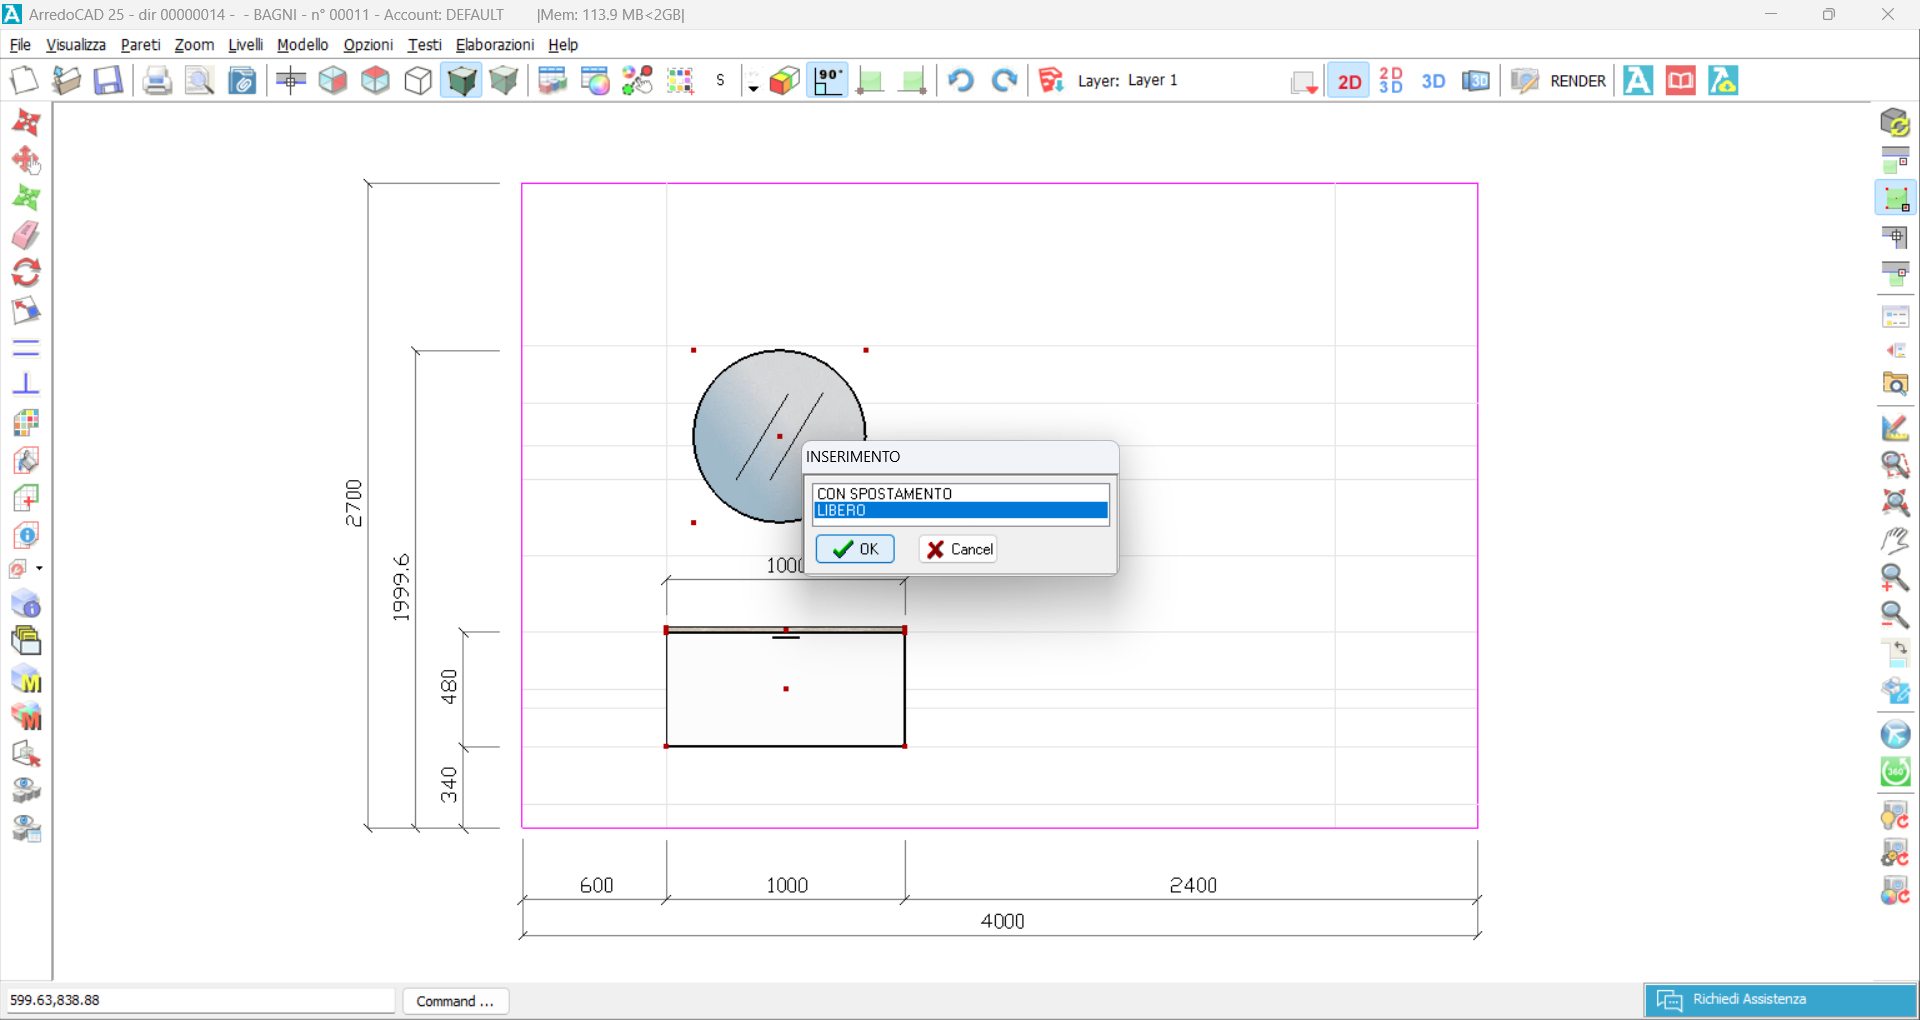
(fig. 17)
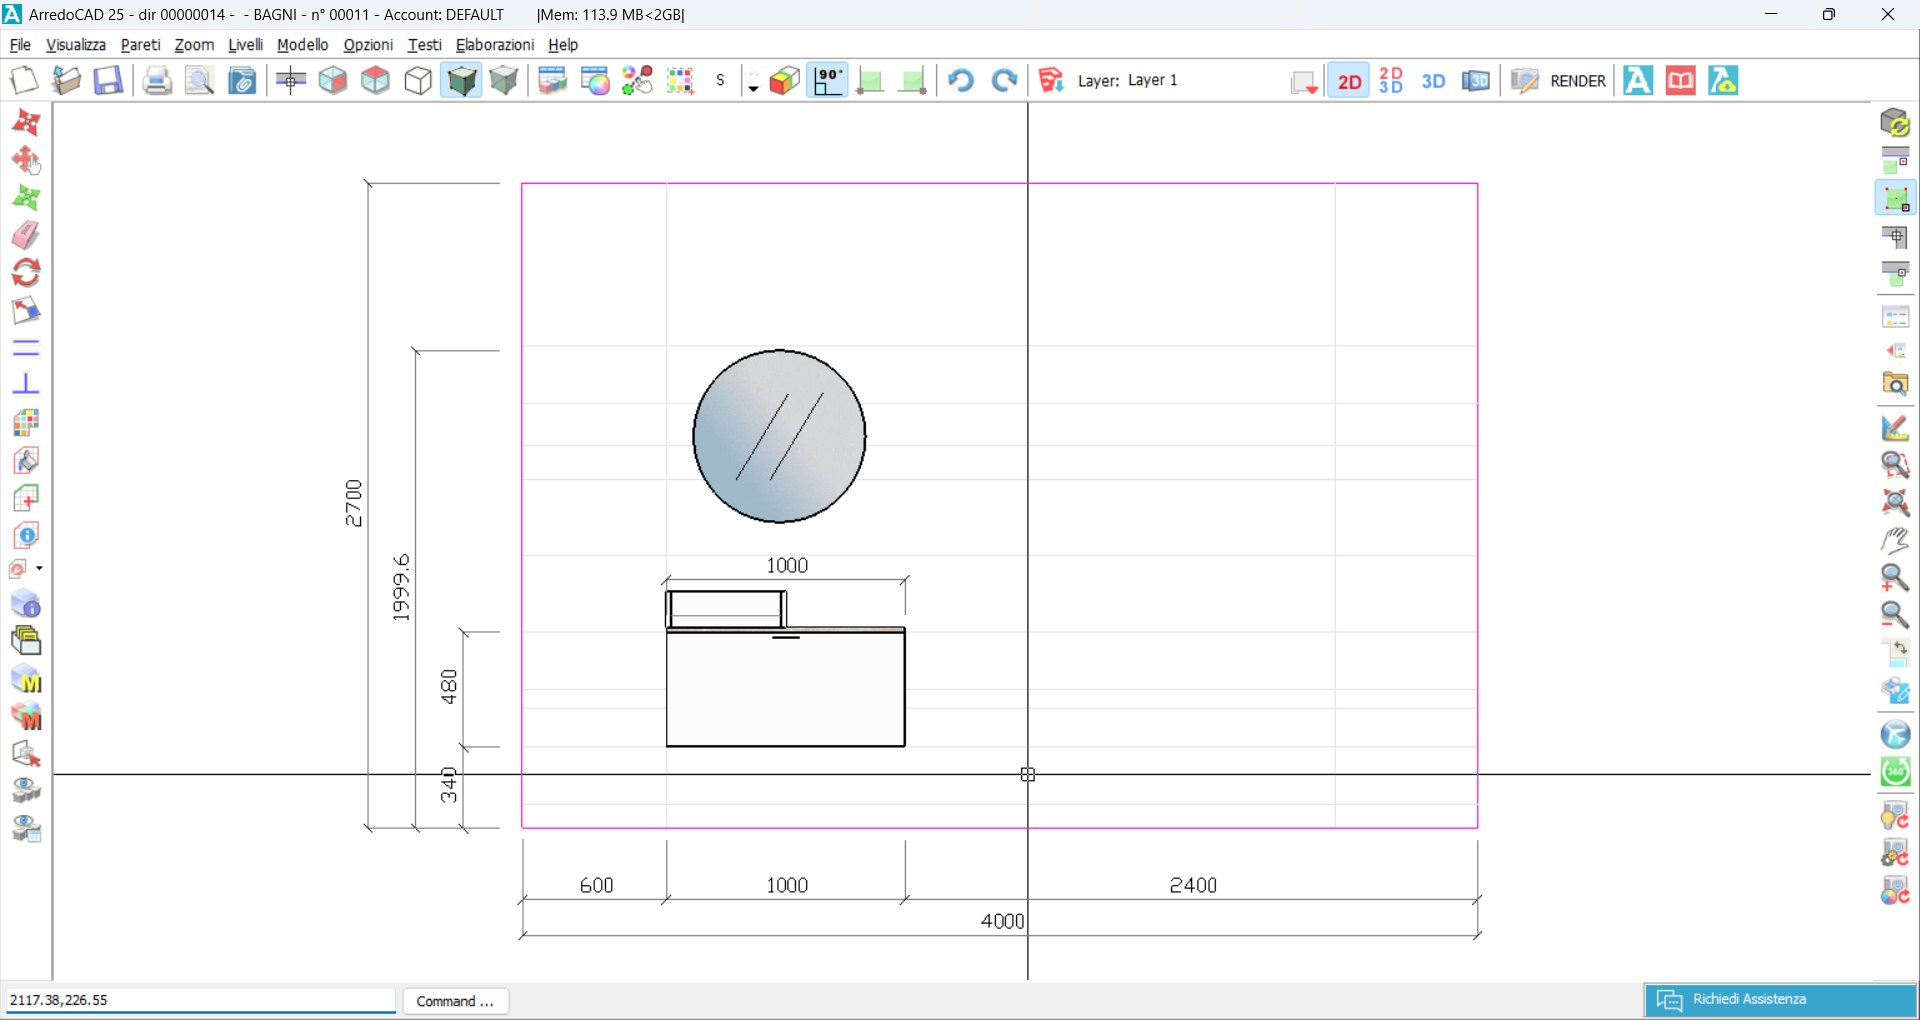
(fig. 18)
If your project includes two basin vanity units or a wall-mounted countertop with one or two bowls, the “With displacement” or “Free” option will always appear when inserting an undercounter basin (fig. 17). To insert a wall-mounted countertop, simply insert the countertop, set the proper thickness, and then insert the desired undercounter basin with the corresponding cutout.