
October 2025
In ArredoCAD, it is possible to customize a material and adjust its transparency — useful, for example, in the case of a curtain (fig. 1).
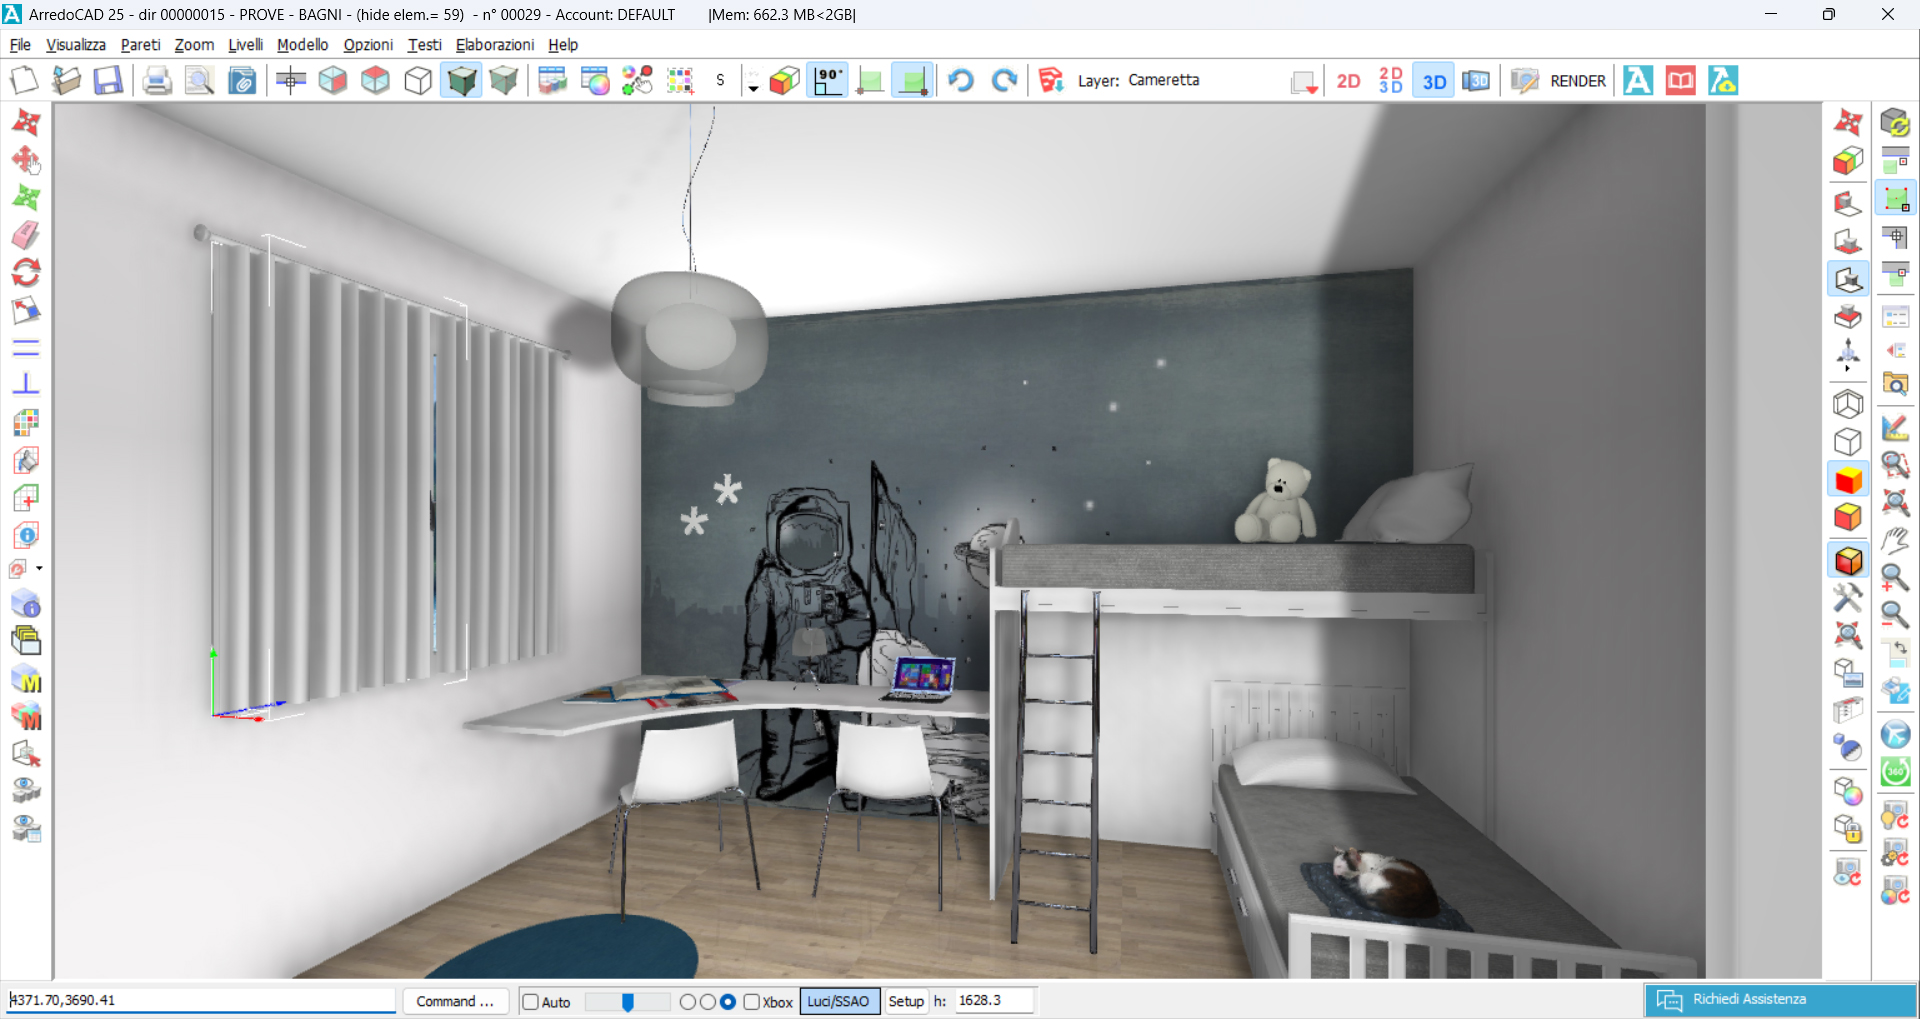
(fig. 1)
While holding the ALT  key on your keyboard, left-click on the texture inside the 3D window. This will directly open the Material Editor window (fig. 2).
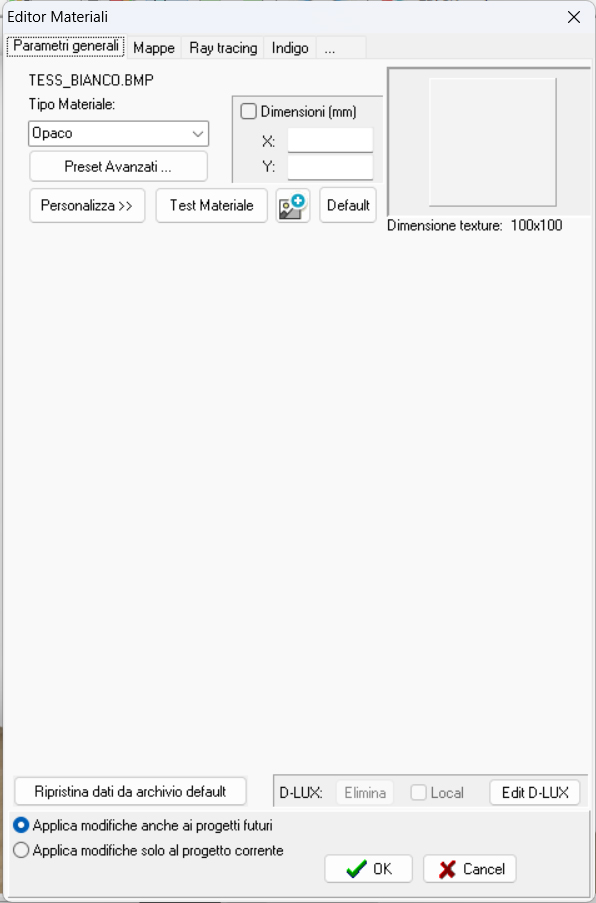
(fig. 2)
Select the option Customize to modify the parameters of the base texture (fig. 3).
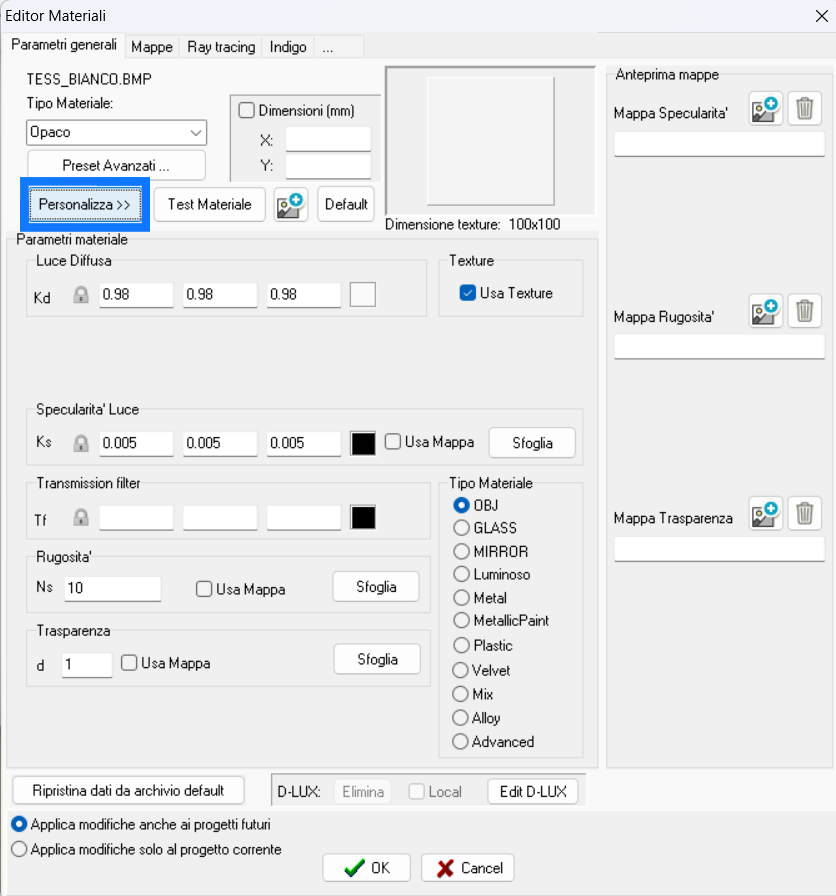
(fig. 3)
In the Transparency section, set a value between 0 and 1, where 0 means total transparency and 1 means no transparency at all (fig. 4).
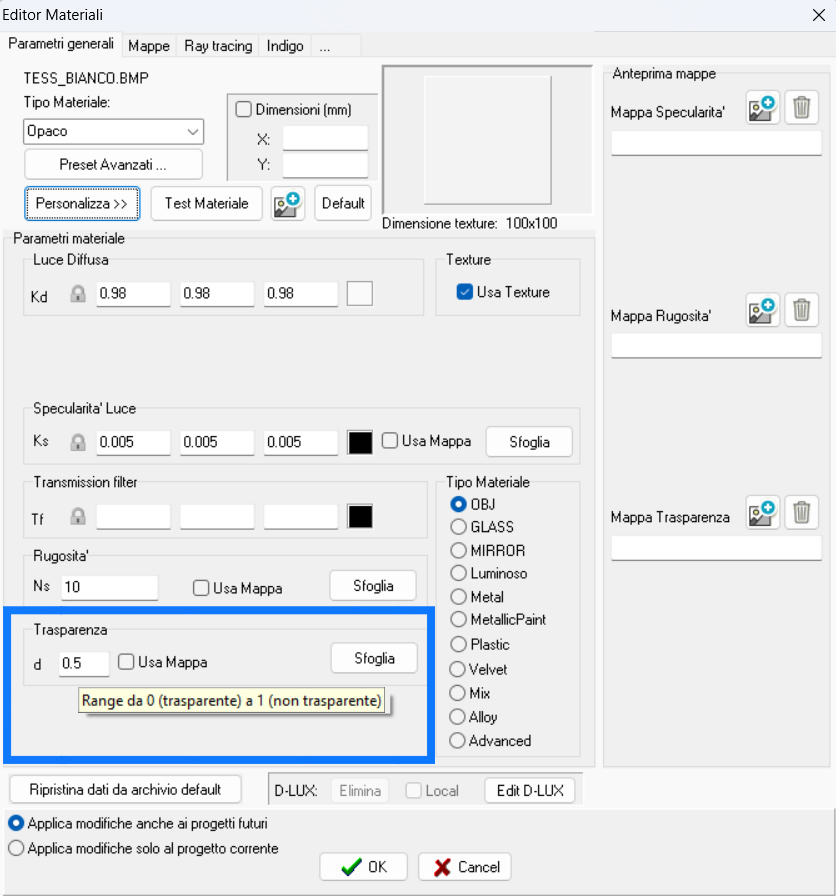
(fig. 4)
Once a value has been set, you can preview the material by clicking on Test Material (fig. 5). A window will open showing the material applied to a spherical object and rendered using the D-RAY rendering engine (fig. 6).
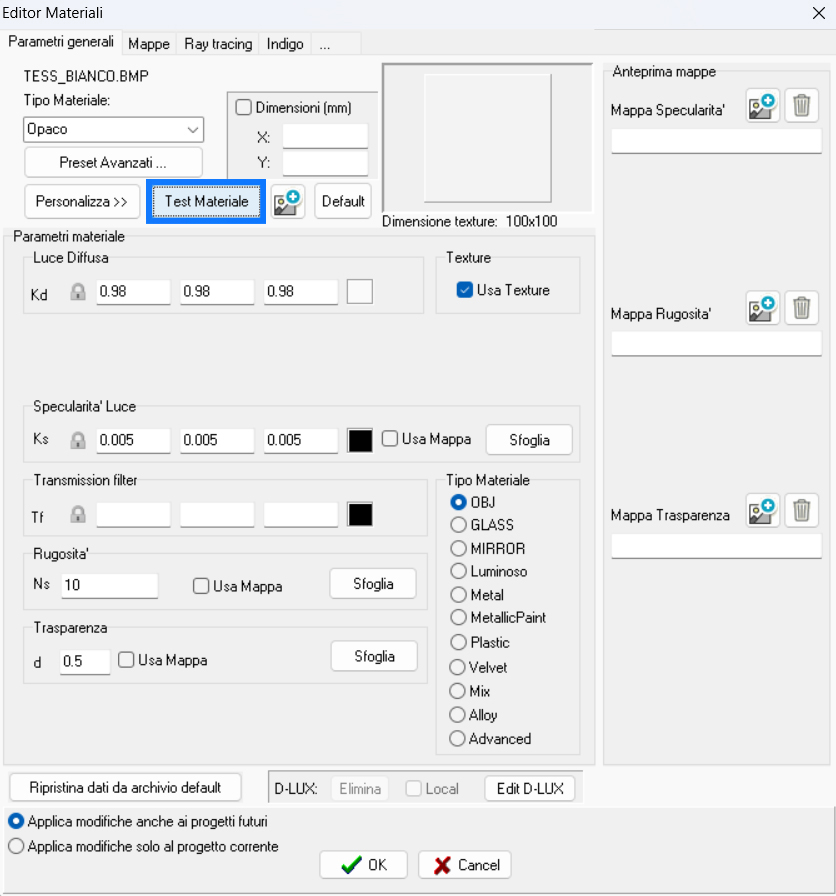
(fig. 5)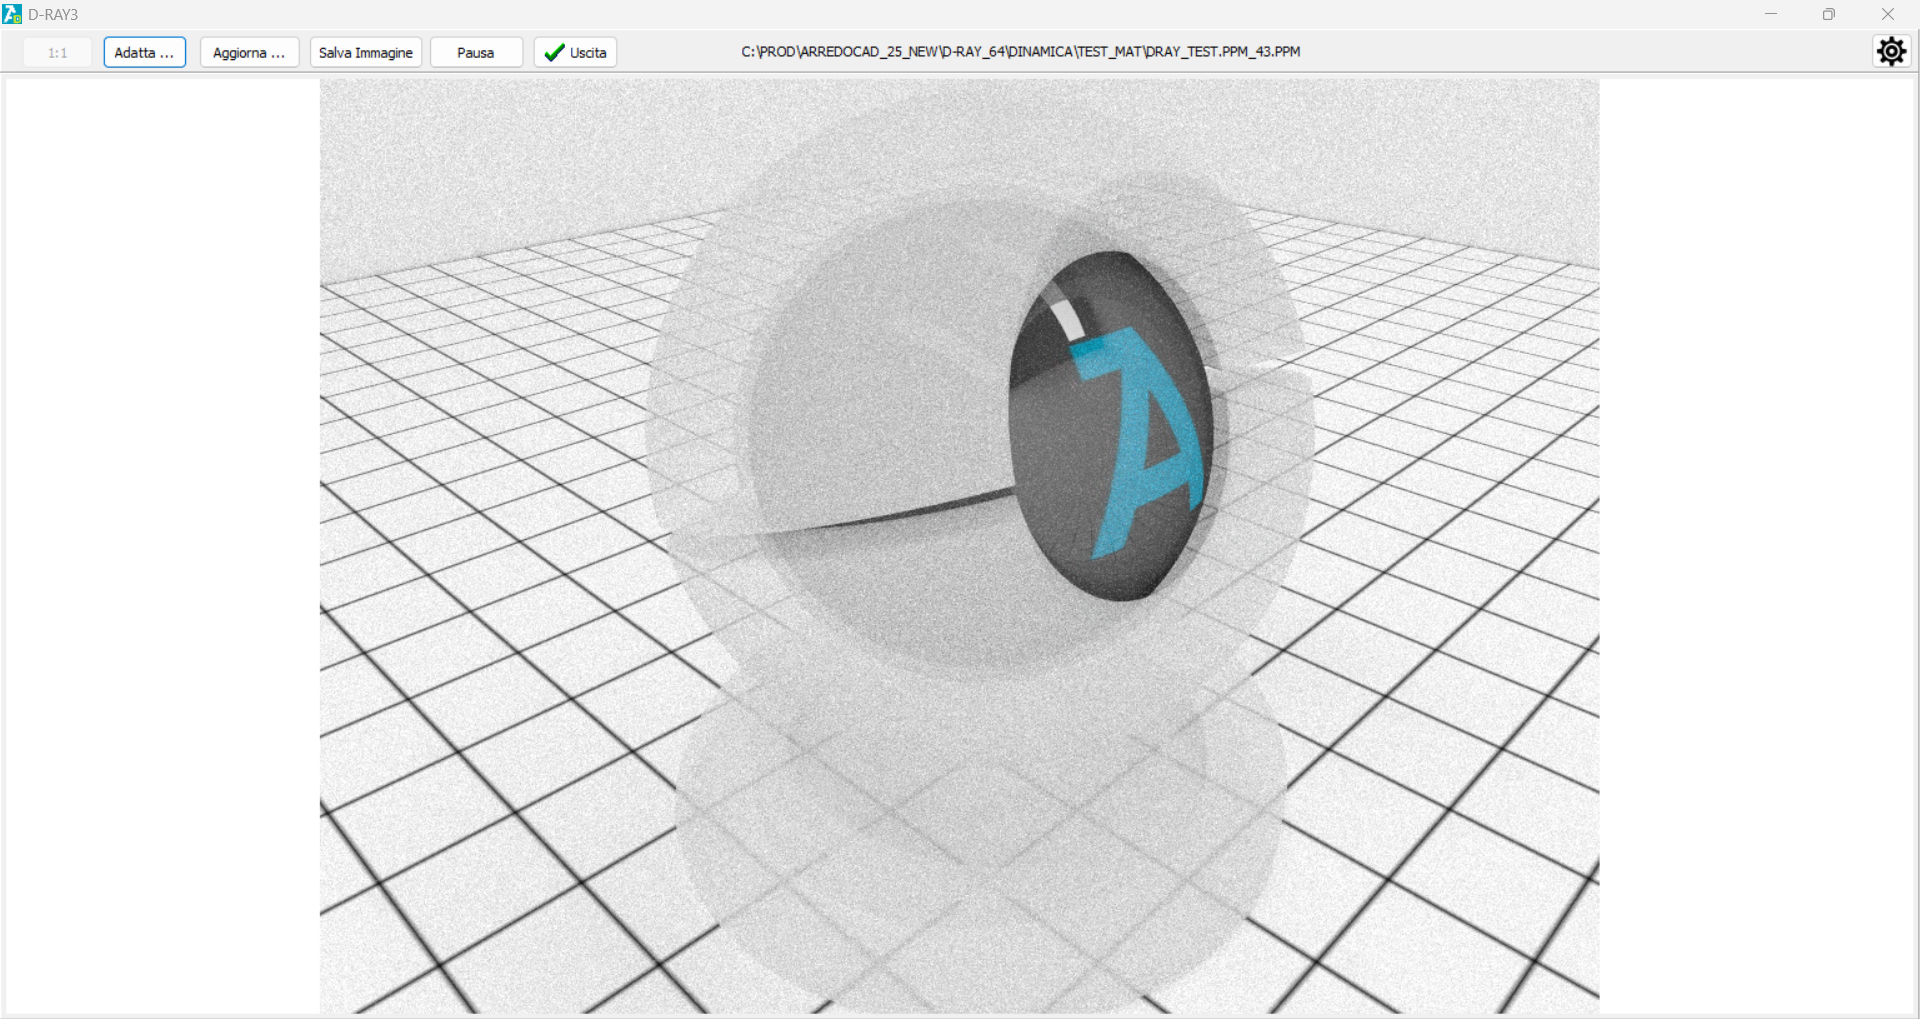
(fig. 6)
If you want to test the material using the D-LUX rendering engine, click the Edit D-LUX command located at the bottom right (figs. 7–8).
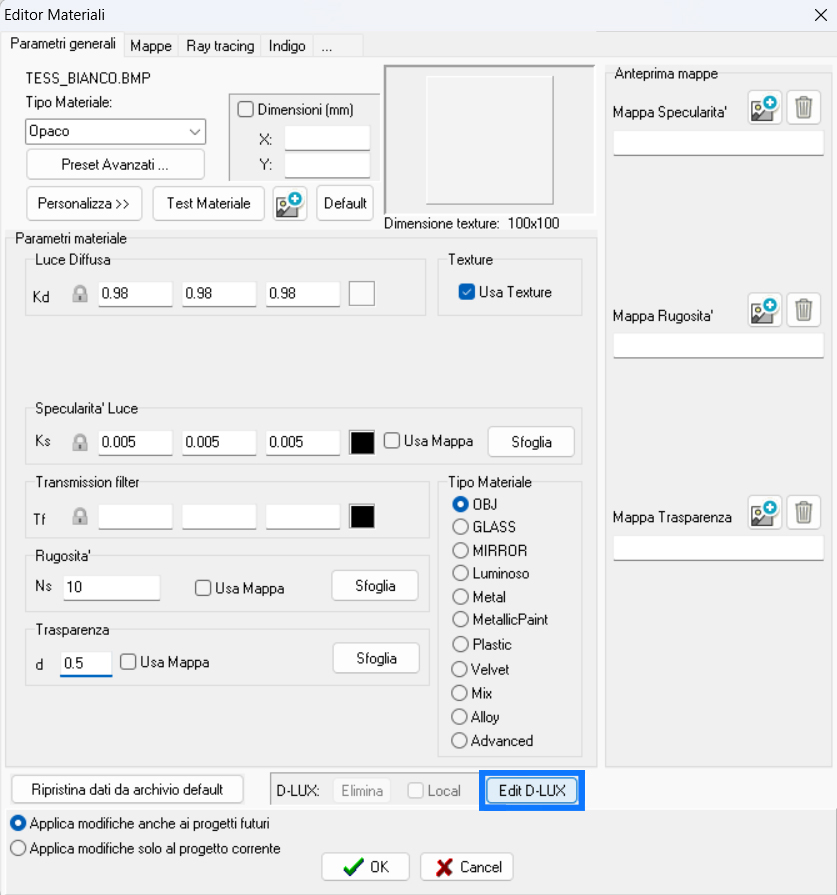
(fig. 7)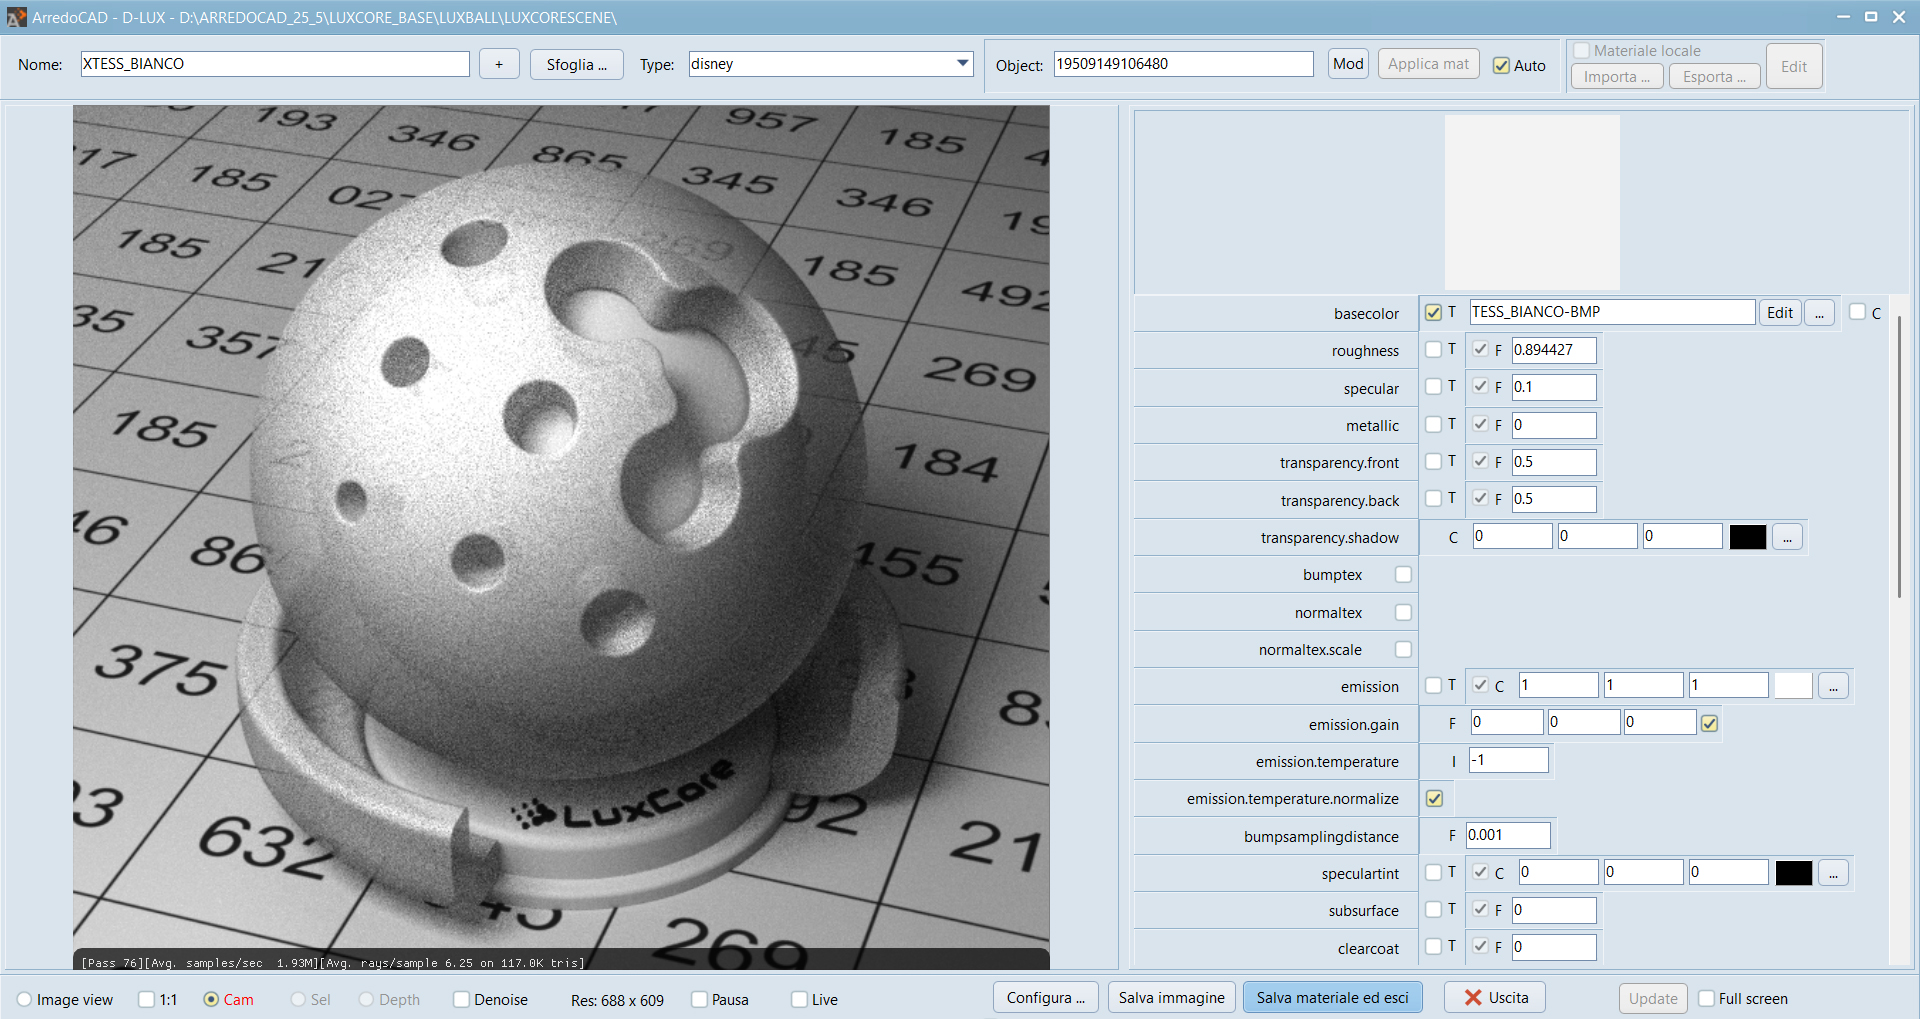
(fig. 8)
To also display transparency inside the 3D window, return to the Material Editor by pressing ALT + left-click on the texture, as done previously. From the top toolbar, click on Ray Tracing. In this section, select the Transparency option and set a value (fig. 9). You can test the modified parameters by clicking Test below the texture preview (fig. 10).
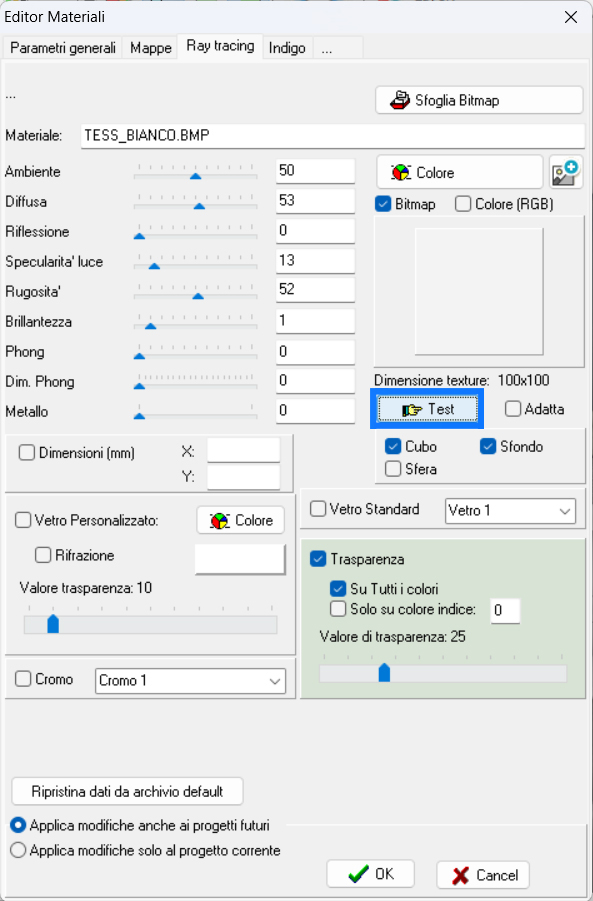
(fig. 9)
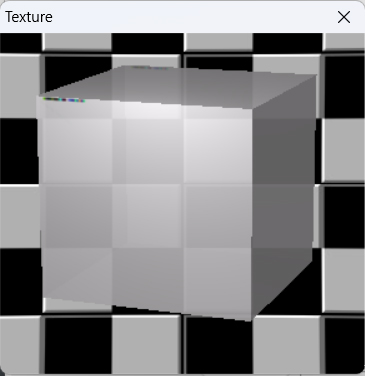
(fig. 10)
The result in the 3D window will appear as follows (fig. 11).
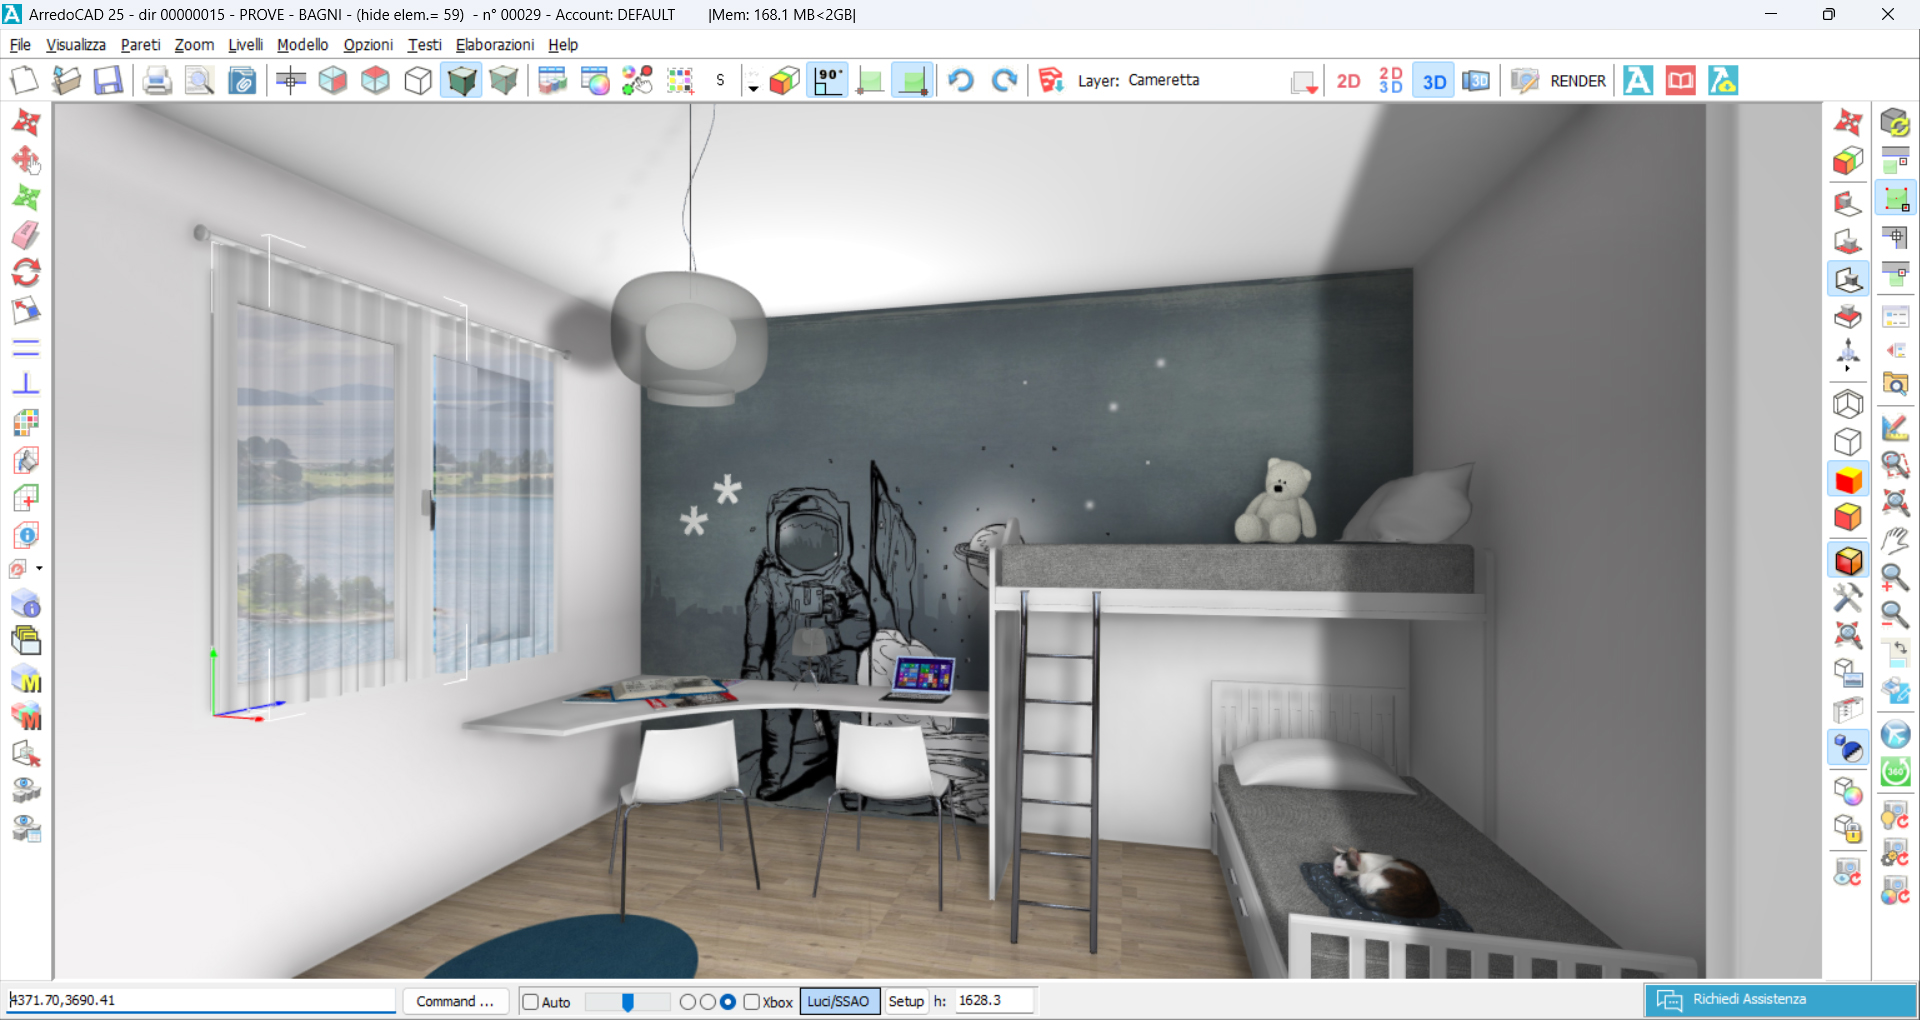
(fig. 11)
The result when rendered with D-RAY will appear as follows (fig. 12).
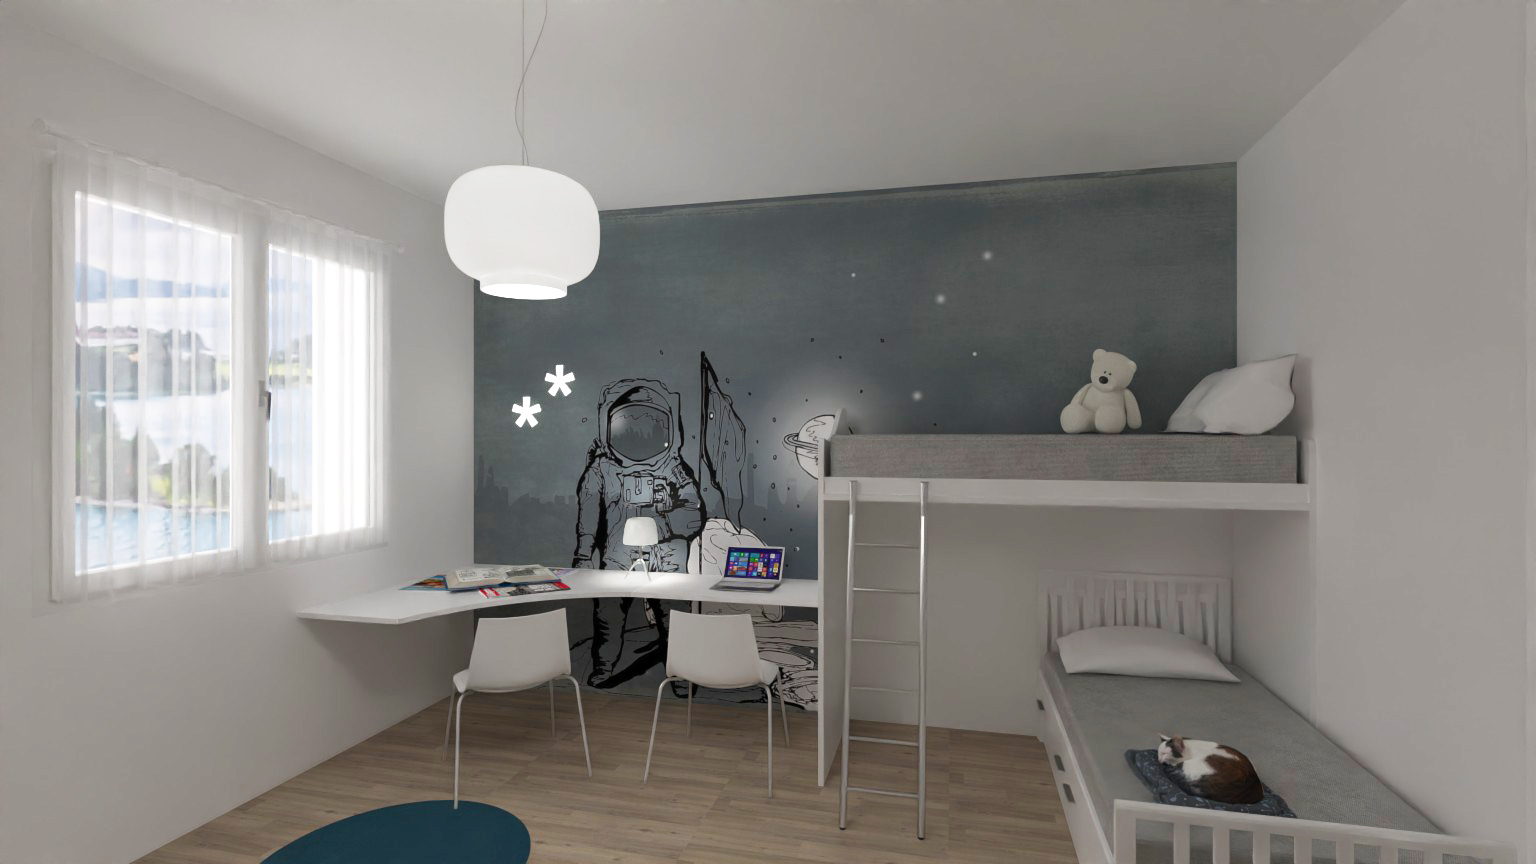
(fig. 12)
The result when rendered with D-LUX will appear as follows (fig. 13).
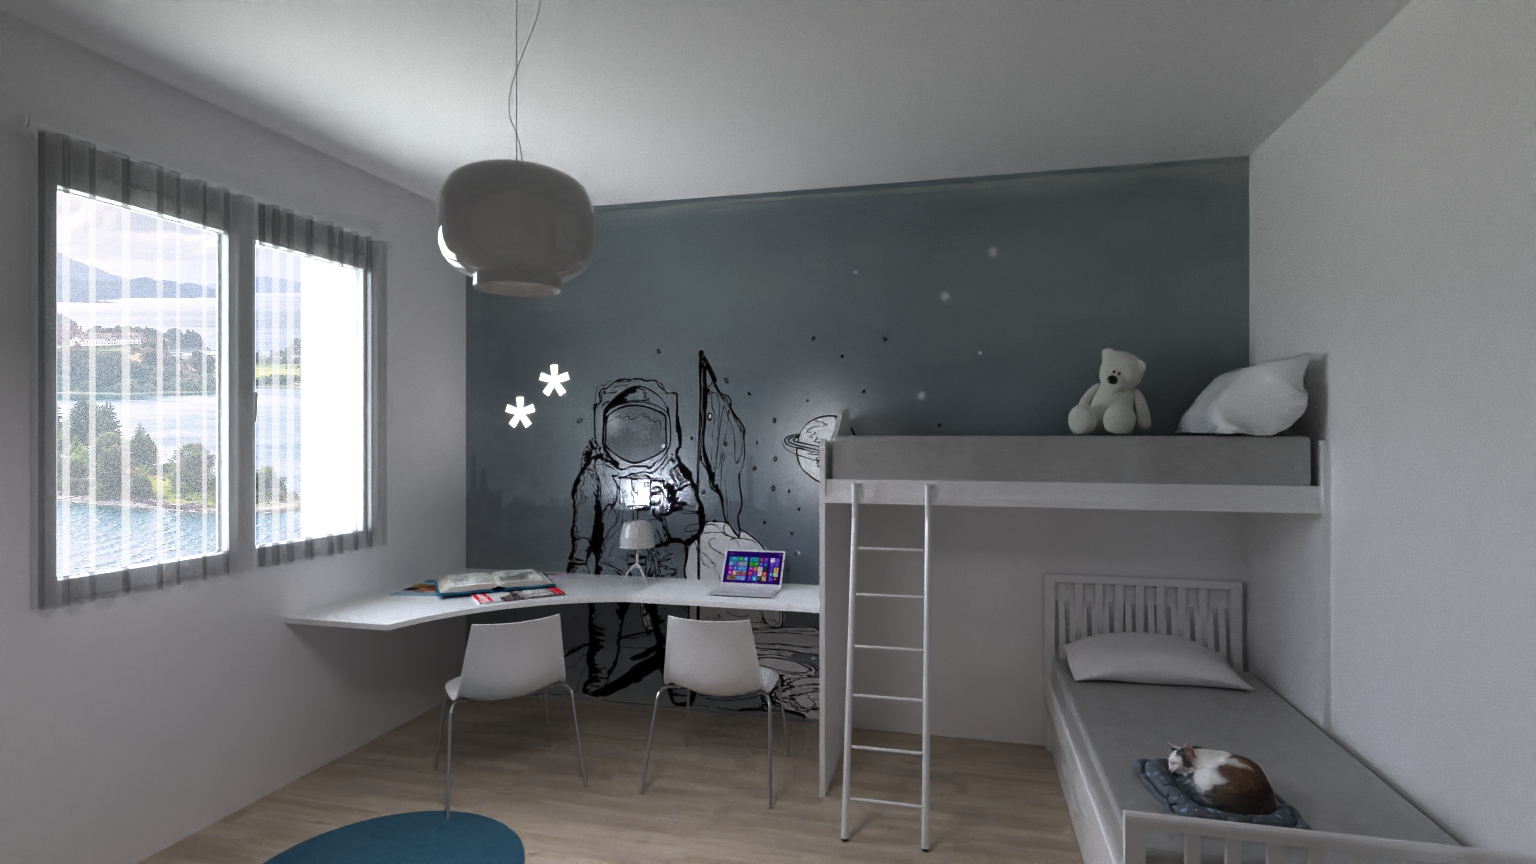
(fig. 13)